
Combining cycling and landscape photography sounds straightforward until you start packing. A camera body might be small enough, but add a few lenses and the weight soon builds up. For a longer ride, that can make the difference between an enjoyable adventure and wishing you had left half your equipment at home.
It’s something I’ve been thinking about for a while, particularly with the possibility of future bikepacking trips. For this outing, I took the train to Ashington in Northumberland and set off on my bike towards home in Whitley Bay, stopping for photographs along the way.
My camera for the day was the OM SYSTEM OM-3 with the 12–45mm f/4 PRO lens. This wasn’t intended to be a comprehensive review. I wanted to discover whether a compact Micro Four Thirds kit could make photography by bike more practical—and more enjoyable.
Why Return to Micro Four Thirds?
Micro Four Thirds is familiar territory for me. My first mirrorless camera used the format, and I’ve made plenty of photographs with it over the years that I’m still very happy with.
More recently, I tried a Sony A7C II with a single lens for this kind of outing. The body was compact, but building a system around a small body doesn’t necessarily mean the whole kit stays small. Lens choice becomes particularly important when you want more reach.
For the way I want to travel, Micro Four Thirds offers an appealing balance. The 12–45mm lens gives me a useful range, equivalent in angle of view to 24–90mm on full frame, without taking up much space.
That covers a lot of my outdoor photography, from wider coastal views to more concentrated compositions. It means I can carry a versatile setup while leaving room for everything else a bike ride requires.
Choosing the OM SYSTEM OM-3
I had initially ordered the new PEN, with the intention of pairing it with the 12–45mm f/4 PRO. However, an offer on an OM-3 kit changed the calculation.
At the time I bought it, the difference worked out at roughly £150 more than the PEN and my intended lens purchased separately. That made the OM-3 worth considering as a camera I could grow into.
Image stabilisation was a particularly strong attraction. I want to leave the tripod behind whenever it makes sense, and effective stabilisation gives me more flexibility when travelling light.
That doesn’t mean every photograph on this trip was handheld. Long exposures were part of the plan too. The aim is to have choices rather than feel that a tripod must accompany every outing.
A Coastal Stop at Cambois
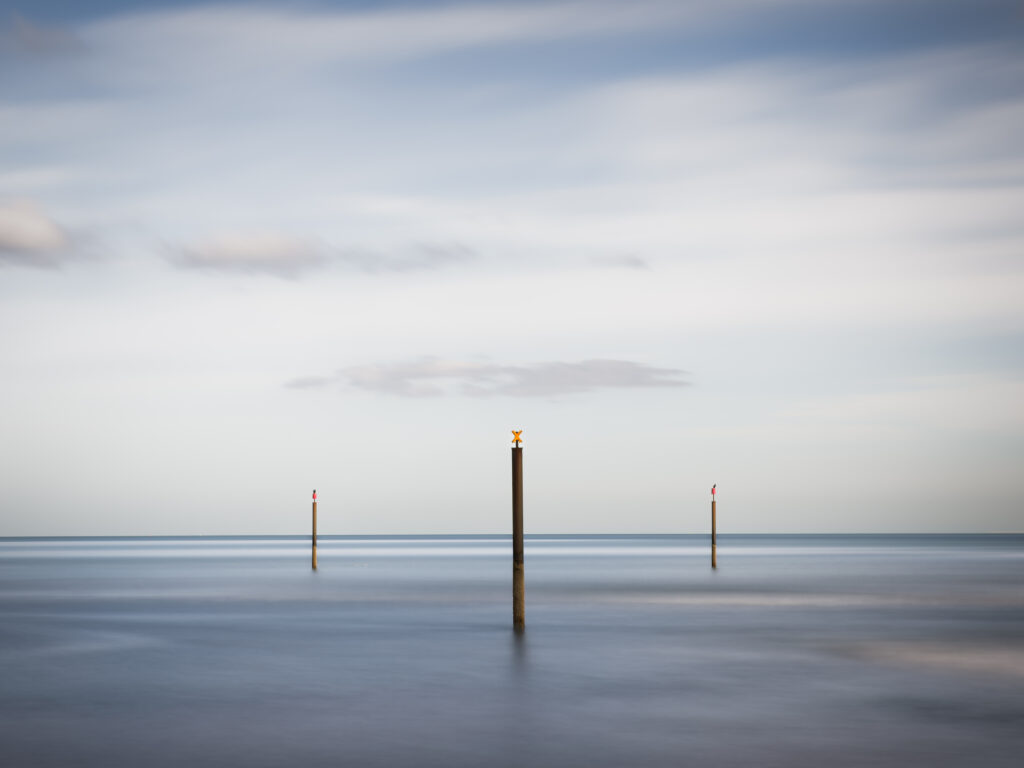
My first proper photography stop was Cambois, a beach I would normally drive to. Arriving by bike felt surprisingly rewarding, even after a few moments of uncertainty about the route.
The shoreline offered a subject that suited long-exposure photography. I used the OM-3’s Live ND feature alongside a physical neutral density filter to experiment with slowing the exposure.
There was also a practical limit to how long I could spend there. With plenty of cycling still ahead, I needed to make a photograph and move on.
That’s part of the appeal of this approach. The photography becomes part of a journey, with each stop contributing to the day rather than being its sole purpose.
Getting Used to a New Camera
Despite its traditional appearance, the OM-3 has plenty going on beneath the surface. This first outing involved learning its settings as much as taking photographs.
Live ND was the main adjustment. I found its simulated effect preview distracting when composing, and I hadn’t yet worked out how to configure everything to suit me.
My temporary approach was to compose in aperture priority, then switch modes to continue experimenting with Live ND and shutter speeds.
The lack of a substantial grip concerned me before the trip, but it caused less trouble than I expected. More broadly, the day reminded me that familiarity matters: even a capable camera takes time to become comfortable in use.
Finding Photographs Along the Route
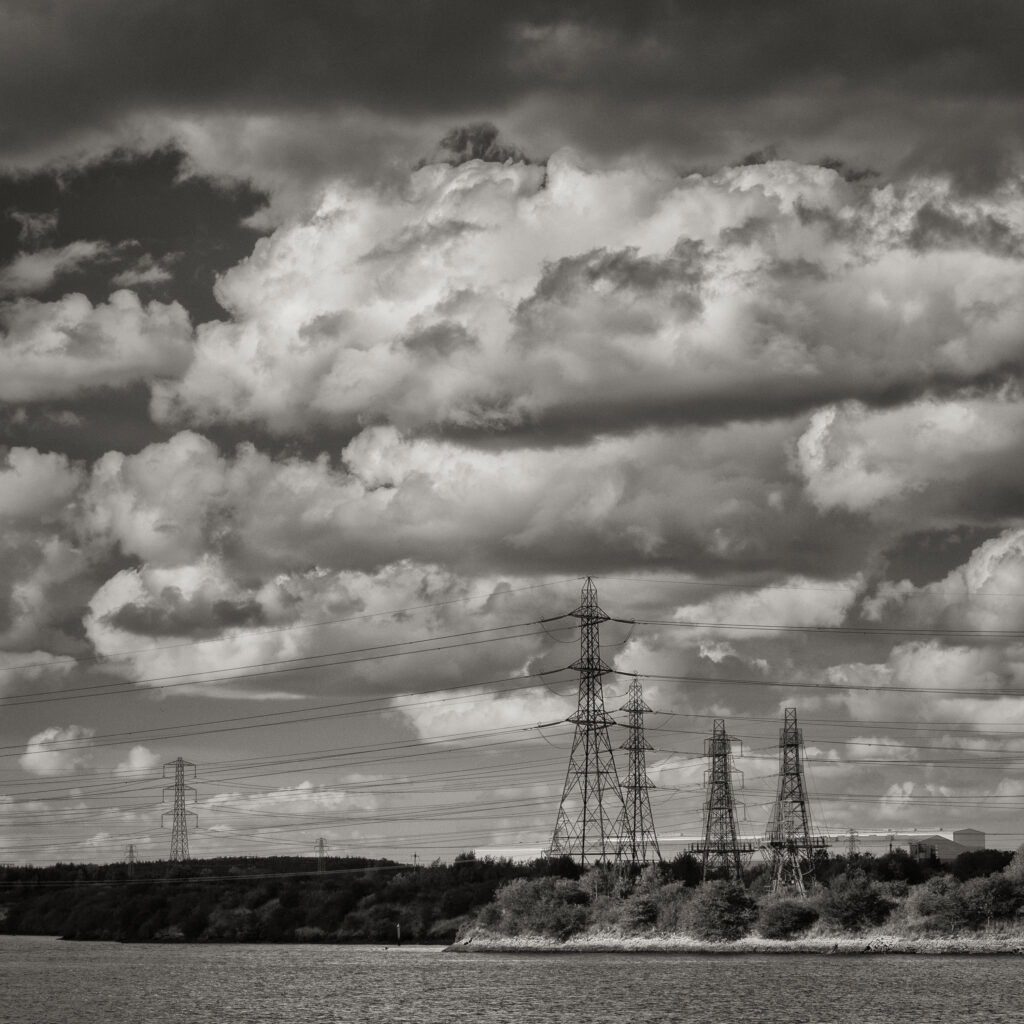
Not every stop offered a conventional coastal landscape. Near the River Blyth, I found a composition involving electricity pylons, industrial buildings and large clouds.
It wasn’t necessarily a photograph I would hang on my wall, but the combination interested me. With a polariser fitted, I waited to see whether sunlight would illuminate the headland.
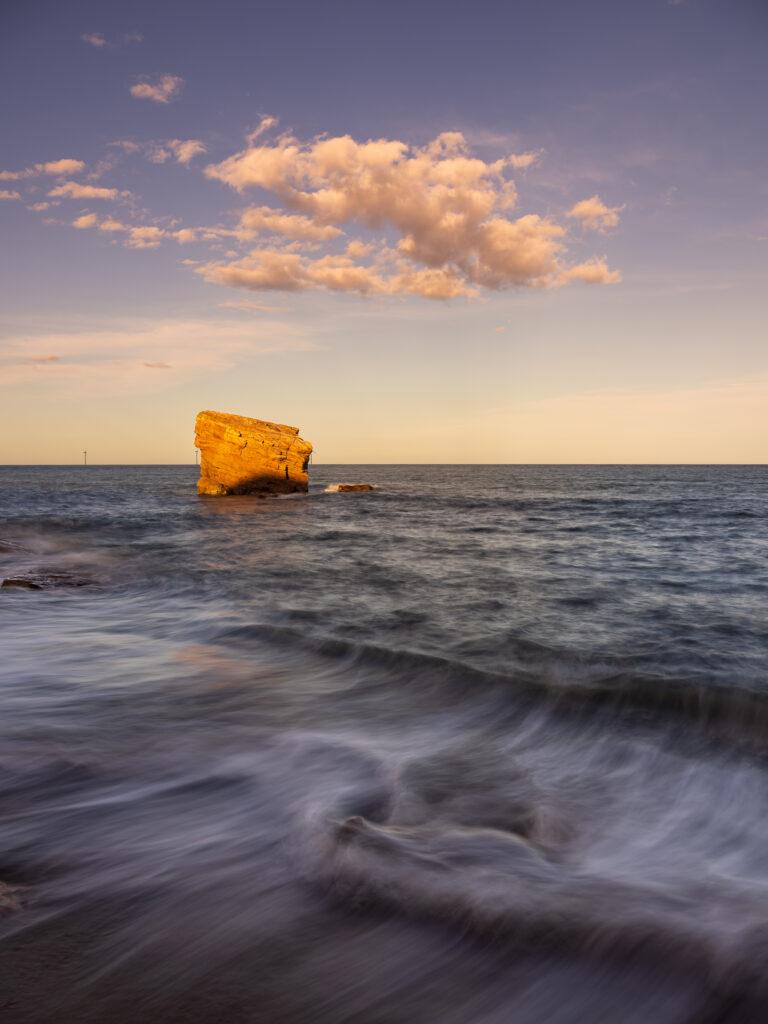
Later, closer to home, I stopped at Charlie’s Garden. High tide restricted my position, and I initially imagined a monochrome photograph built around the sea stack and breaking waves.
Moving slightly lower revealed a foreground rock that improved the composition. What had felt like a compromise began to look more promising, including the possibility of a colour image.
It was a useful reminder to keep exploring, even when the conditions aren’t quite what you hoped for.
A First Step Towards Bikepacking with a Camera
The day wasn’t without frustrations. Carrying the camera on the front of the bike proved awkward, and the video camera kept slipping while I rode. Those are things I need to resolve before attempting a longer trip.
However, that was the purpose of the outing: discover what worked, identify what didn’t, and enjoy making photographs along the way.
The compact camera kit helped make the ride feel manageable. I came home having enjoyed both the cycling and the photography, with a clearer idea of how I could combine them on future adventures.
For me, that’s a good reason to have Micro Four Thirds back in the camera bag.

Leave a Reply