
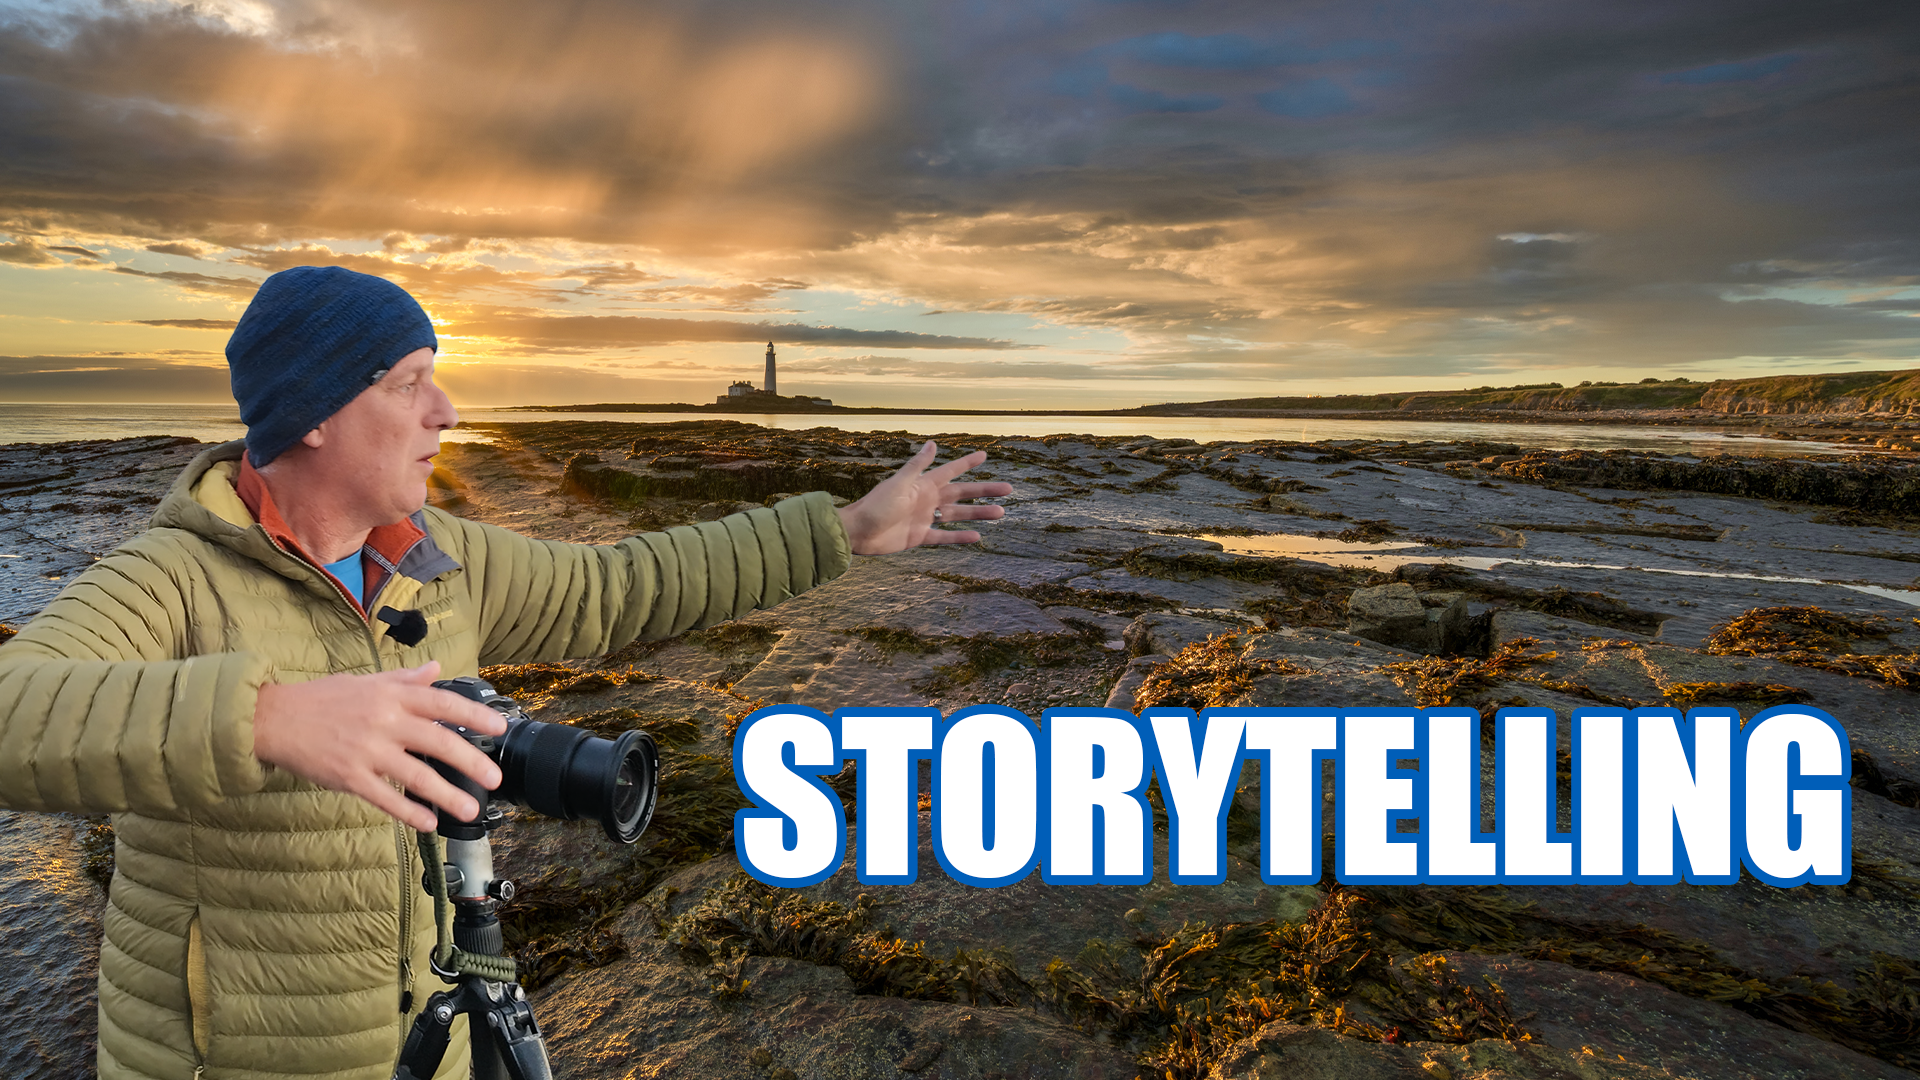
Filmmakers often use a combination of wide shots, medium shots and close-ups to tell a story. A wide shot establishes the setting, a medium shot introduces the subject, and a close-up reveals the details. It got me wondering whether the same approach could help with landscape photography.
To find out, I headed to Old Hartley Bay, near Whitley Bay on the Northumberland coast, for sunrise. With St Mary’s Lighthouse in the distance and plenty of interesting rocks underfoot, there was scope to create three very different photographs without travelling far.
My aim was to look beyond the obvious view and build a small collection of images that said something about the location. One photograph would show the wider landscape, another would concentrate on the lighthouse, and the final image would explore a detail of the shoreline.
Start with a Wide Shot to Establish the Scene
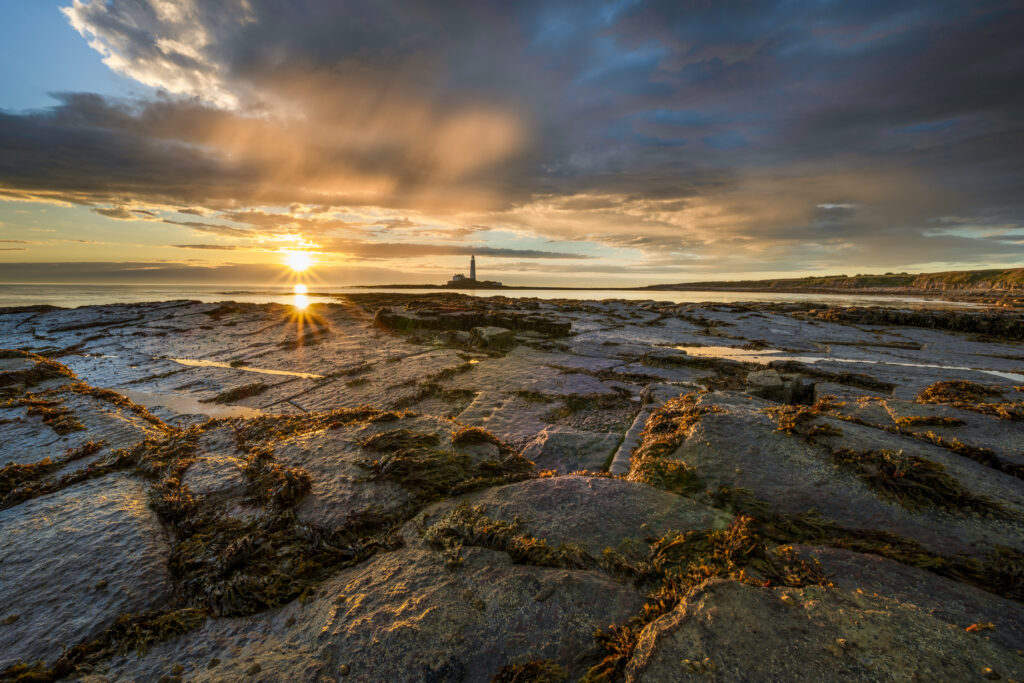
For my first photograph, I wanted to show the bay in its wider setting. The lighthouse would be part of the composition, but it wouldn’t dominate the frame.
I fitted the Nikon Z7 with my 14–30mm lens and explored possible angles handheld before setting up the tripod. This gives me the freedom to adjust my position and camera height without committing to a composition too quickly.
A curved slab of rock caught my attention. At 14mm, I could exaggerate its shape and make it a strong foreground feature. The clouds above echoed that curve, giving me a connection between the foreground and sky.
The challenge was the light. Ideally, I wanted colour in the clouds and sunlight catching the rocks, but the clouds were moving quickly. As gaps appeared overhead, I adjusted the framing to keep the composition balanced.
Eventually, the rising sun brought some lovely light onto the foreground. The resulting photograph established the location, the coastal setting and the time of day—the photographic equivalent of an opening scene.
Use a Medium Shot to Introduce Your Subject
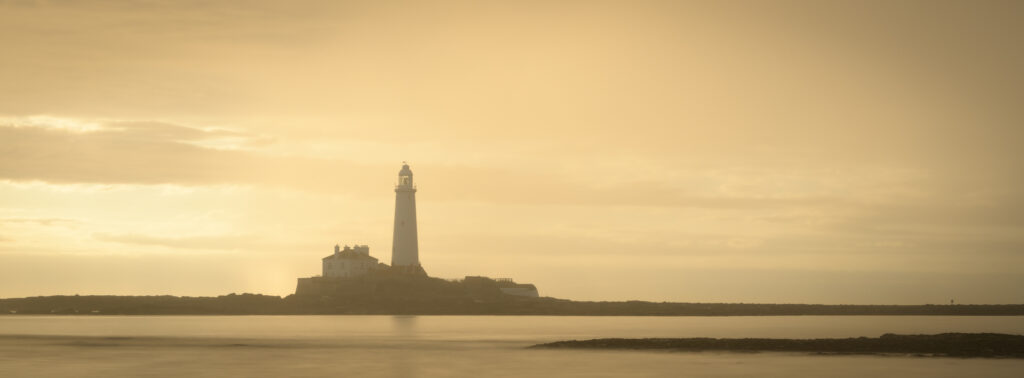
With the wider view captured, I switched to my 24–120mm lens and looked for a more concentrated composition of St Mary’s Lighthouse.
For this experiment, I thought of a medium shot as something around the 35–70mm range on a full-frame camera. Those numbers weren’t strict rules. The intention was to move away from the exaggerated foreground of the ultra-wide photograph and give the main subject more attention.
I worked around the shoreline to find an angle with some side lighting on the lighthouse. Then, rather unexpectedly, it started raining.
That changed the atmosphere considerably. The bright sunrise gave way to something much moodier, and the photograph became quite different from the one I had imagined.
I experimented with neutral density filters to lengthen the exposure and soften the movement of the water. I don’t feel that every landscape photograph needs to reproduce a scene exactly as the eye sees it. Exposure time is one of the tools I can use to interpret the landscape.
Without this exercise, I might have zoomed in more tightly. Keeping the medium shot in mind encouraged me to retain some surroundings, which helped convey the changing weather and mood.
Finish with a Detail Photograph
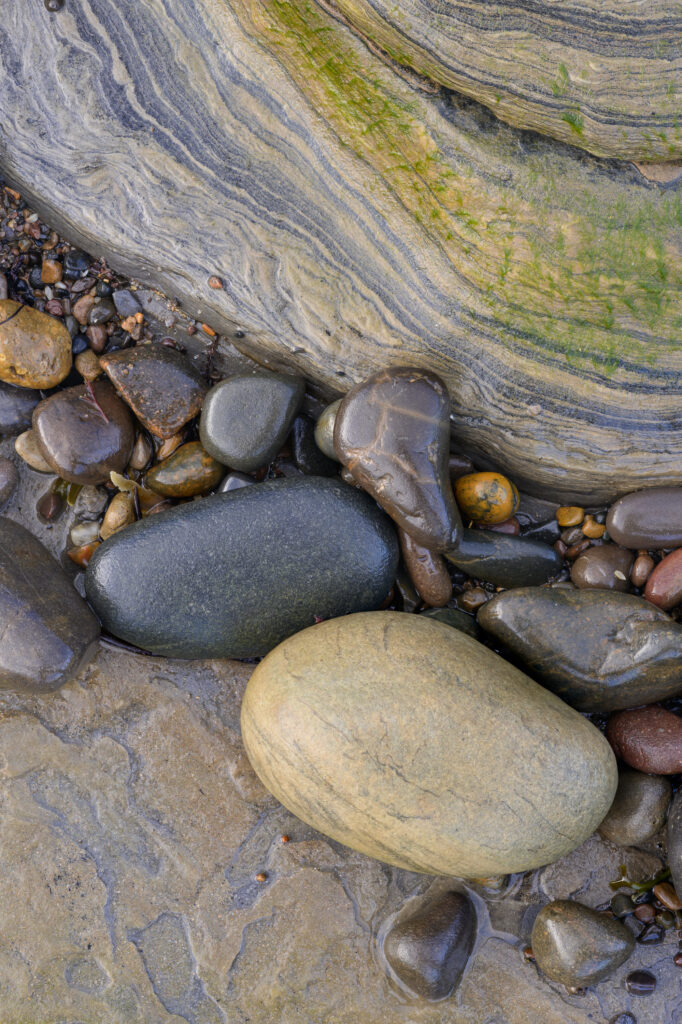
The final photograph proved the hardest to find.
A lighthouse is an obvious subject. A small arrangement of rocks and pebbles takes more searching. You need to look closely and find shapes, textures or colours that work together within a much smaller frame.
Eventually, I found a composition of wet rocks and pebbles that suited a portrait orientation. At roughly 90mm, I could isolate the arrangement and concentrate on its textures.
A polarising filter made a useful difference. By reducing reflections from the sky on the wet surfaces, it allowed more of the rocks’ underlying colours to show through.
I also captured a sequence of photographs focused at different distances, giving me the option to blend them in Photoshop for greater depth of field. Working close to the subject meant I wanted to check that both the lower pebbles and the raised surfaces of the rocks were sharp.
I left a little extra space around the composition to allow for changes in framing caused by focus breathing. Photographs of my hand at the beginning and end marked the sequence, making it easier to identify later.
Tell a More Complete Story of a Location
By the end of the morning, I had three photographs with different purposes: a wide view of the bay, a more focused image of the lighthouse and a detail of the shoreline.
They also recorded different aspects of the experience. The first captured the sunrise, the second reflected the changing weather, and the third explored textures that were easy to overlook.
You don’t need three prime lenses or those exact focal lengths to try this. I used two zoom lenses. What matters is changing how you look at the location.
Next time you’re out with your camera, try making a wide photograph, a medium view and a close-up before moving on. It’s a simple exercise that encourages you to explore more thoroughly—and you might discover that your favourite image is the detail you would otherwise have walked past.

Leave a Reply