
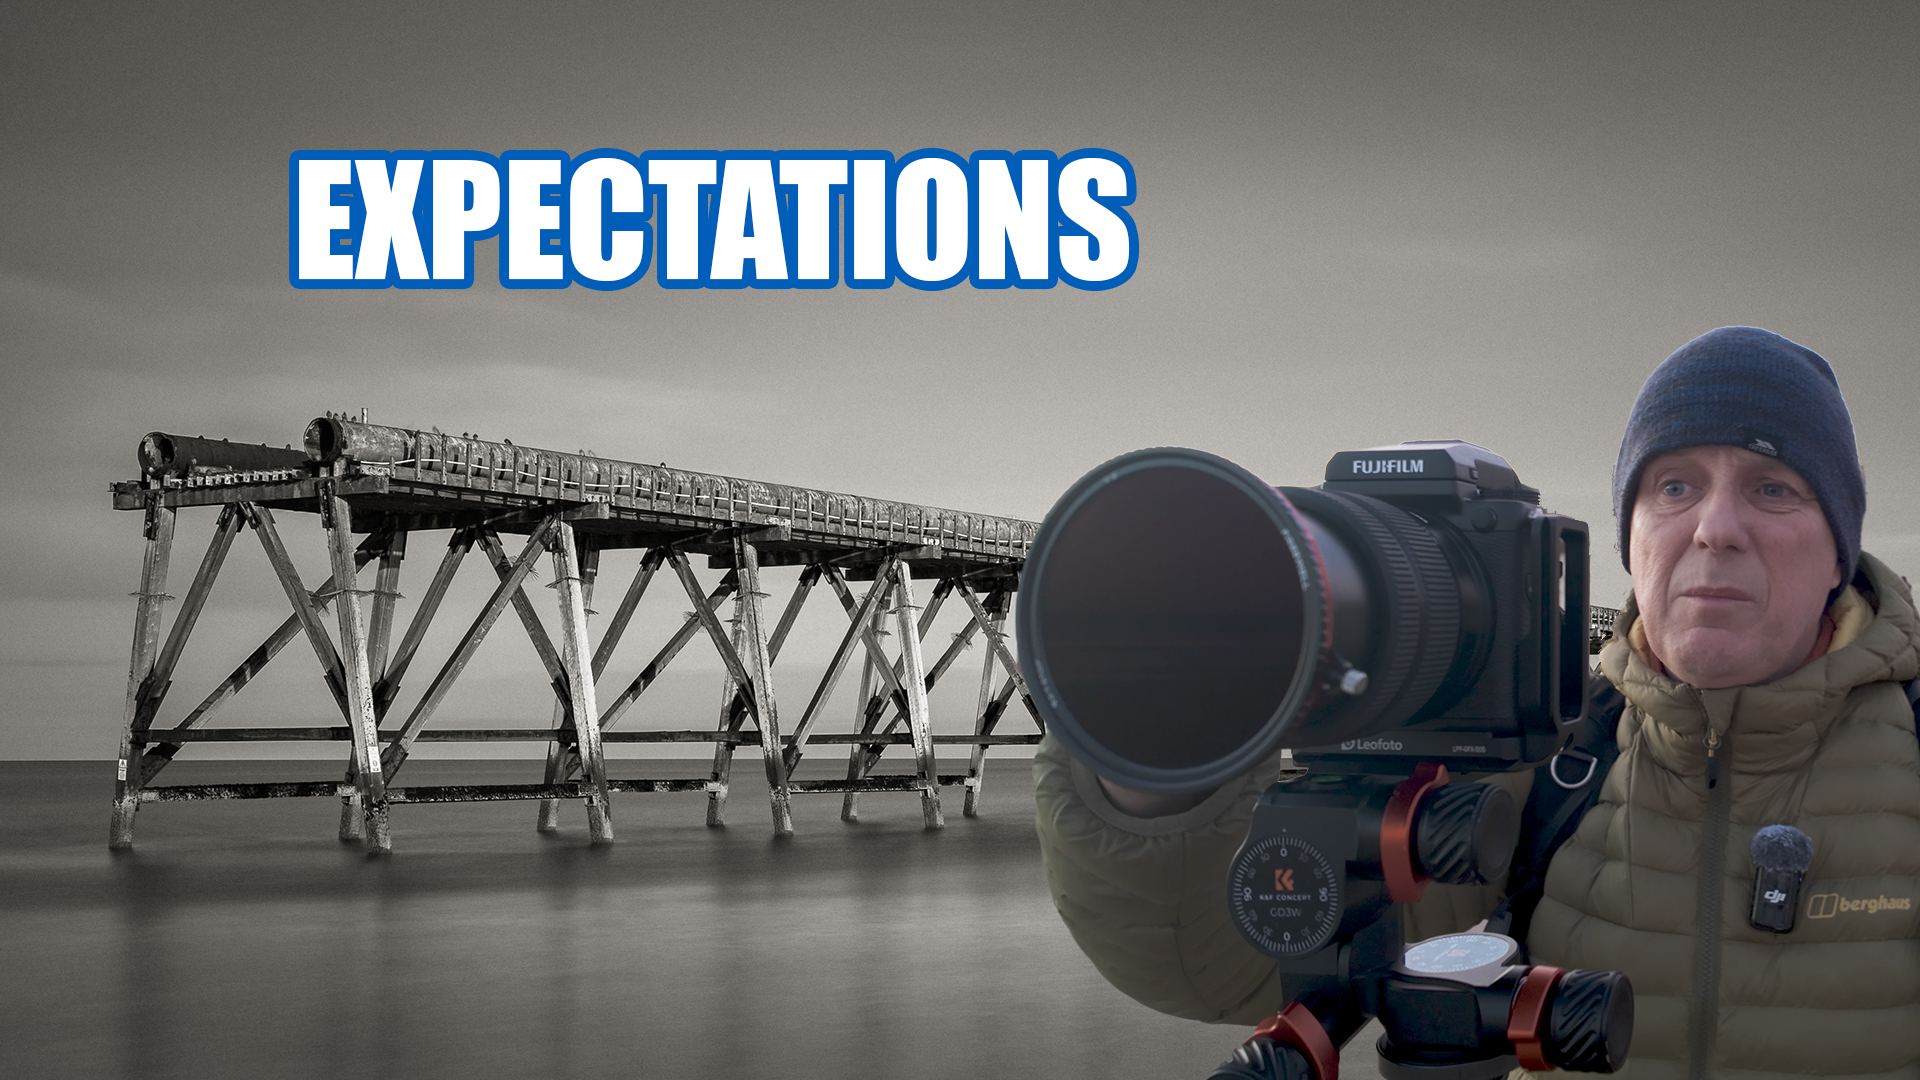
Some locations get stuck on your to-do list for ages, not because they’re difficult to reach, but because they’re difficult to catch right. You need the light to behave, the tide to cooperate, and ideally the sky to bring a bit of drama to the party too.
This shoot was my first proper visit to Steetley Pier (near Seaham in North East England) — a place I’ve wanted to photograph for a while. The plan was simple: arrive for sunrise, time it with the incoming tide, and try to create that classic long-exposure look where the pier feels like it’s floating in milky water.
The reality… wasn’t quite as tidy. But it ended up being one of those shoots that teaches you more than it rewards you — and I actually came home with images I genuinely like.
Why Steetley Pier is such a great subject
Steetley Pier is visually brilliant for minimalist coastal photography because it has a very distinct “end point” — a clear structure that can be isolated against sea and sky. When the tide is high enough, water can lap around the base and separate it from the beach, which makes the pier feel like it’s out at sea.
That was the look I had in my head:

- clean lines
- water around the base
- long exposure softness
- sunrise light lifting the tones
- and (ideally) a few clouds to stop the sky feeling empty
So the key ingredients for this shoot were always going to be tide + timing + sky.
Working carefully (without ruining the scene)
One detail I loved from this morning was how intentional the approach had to be. Before walking straight down onto the beach, I stopped and set up from further back — mainly because the sand was pristine and I didn’t want to trample through it before I’d decided exactly where I wanted to shoot from.
It’s a small thing, but it’s a good habit: protect the foreground until you know what you’re doing.
I was also trying not to dump my bag on the sand, because with the tide coming in, the last thing you want is a wet camera bag as the day begins.
The kit: GFX 50S, a compact zoom, and a new magnetic filter system
For this shoot I brought the Fujifilm GFX 50S, which I hadn’t used much recently (Christmas got in the way — as it does).
I also tried two new things:
1) A compact 35–70mm zoom
A small autofocus zoom is actually a really practical pairing for the GFX 50S. I love manual lenses, but sometimes it’s nice to have one modern “get the shot done” lens in the bag — especially when the light is changing quickly.
2) Freewell magnetic filters (disclosure)
Freewell sent me a magnetic filter system to try, free of charge, and I’ll be transparent about that. They didn’t ask for a formal review — they just asked me to make something with it and see how I got on.
The concept is great: magnetic caps and quick filter swaps. The only slightly odd part is the lens caps marked “A” and “B” — I’m sure there’s a reason, but aesthetically I’d prefer them plain.
Still, the speed of a magnetic system at the coast is genuinely useful, especially when you’re juggling cold fingers, tides, and changing light.
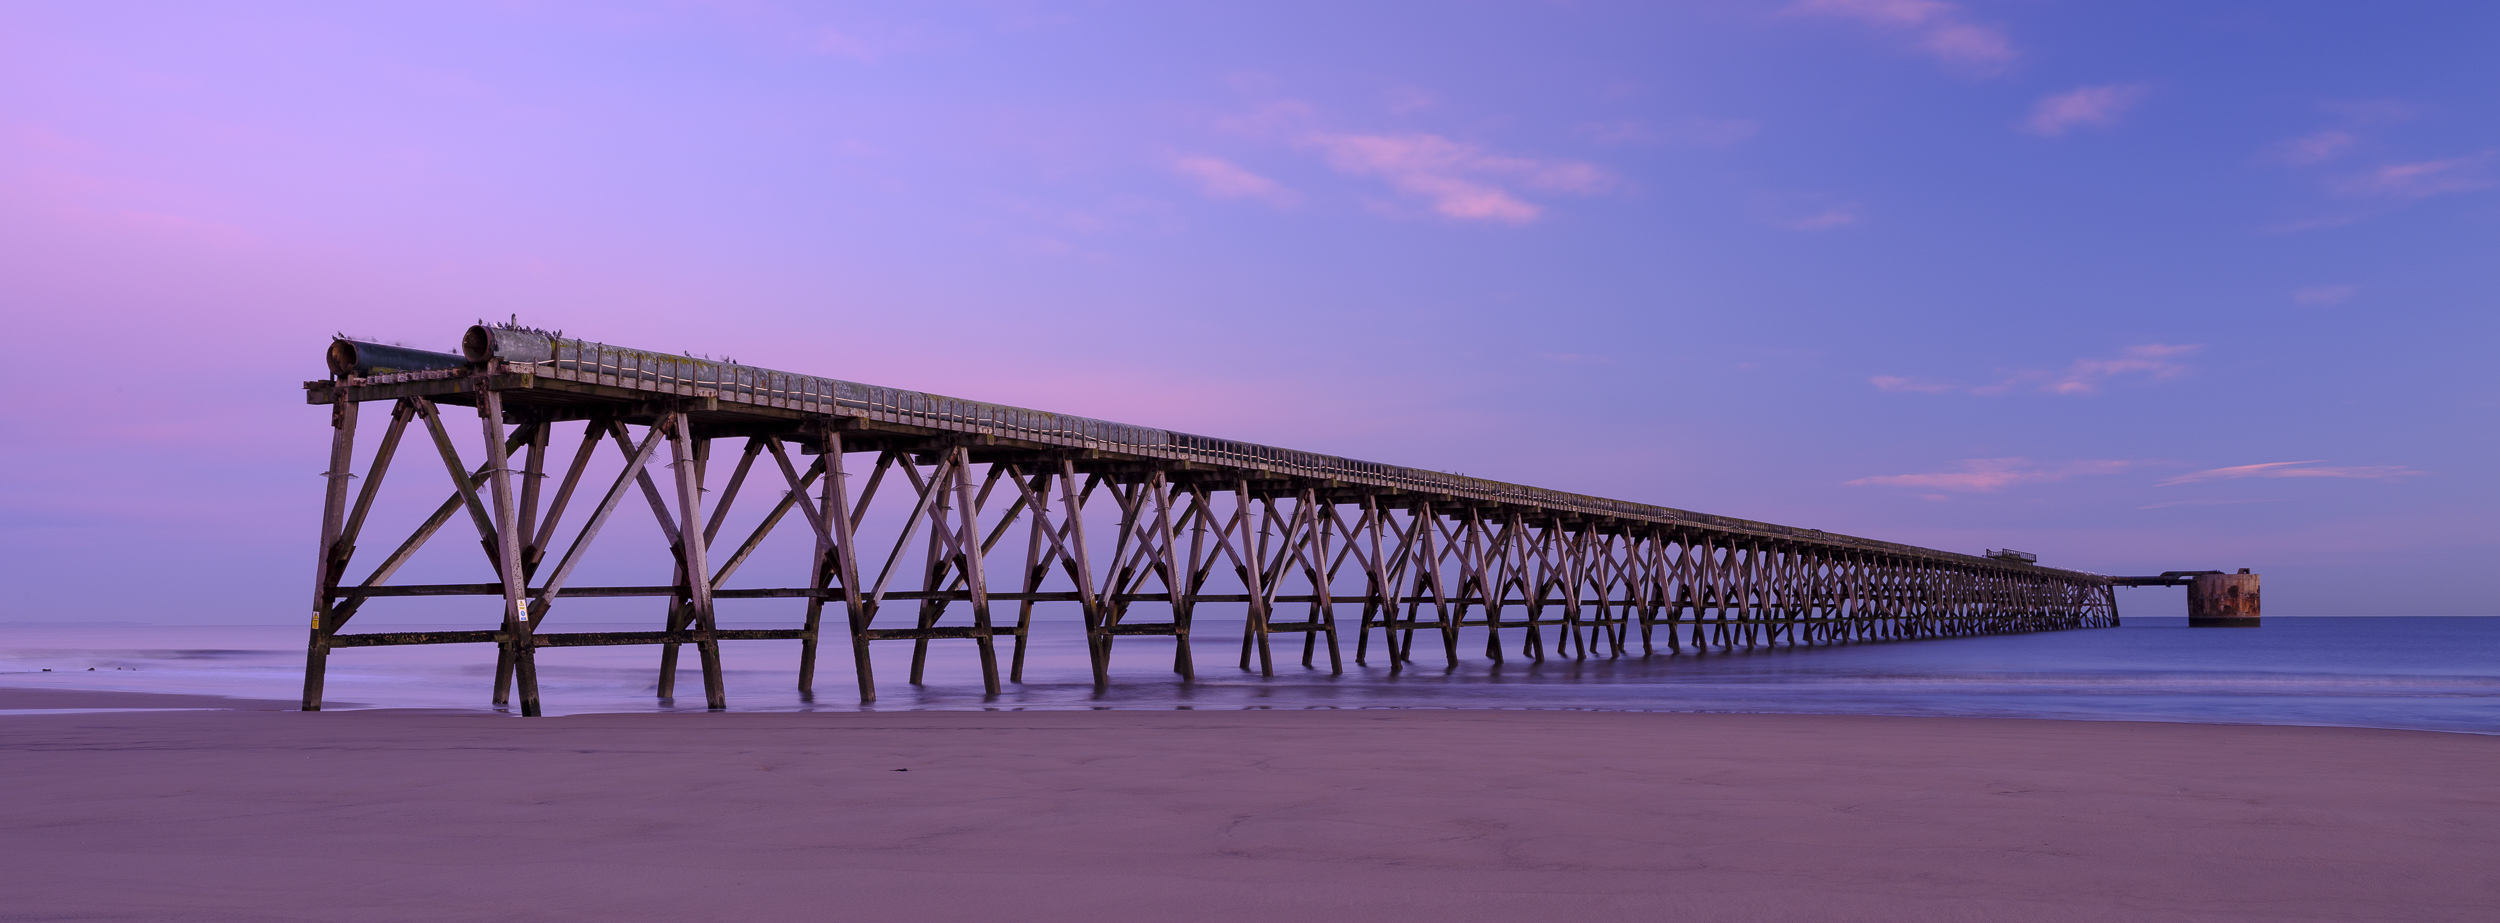
The first composition: a simple panoramic at dawn
The first shot I made was a simple panoramic composition focused on the remaining section of the pier. With the sky fairly calm and cloudless, I leaned into minimalism — tranquil tones, soft gradients, and the pier as a clean graphic subject.
It wasn’t the “big” image I had in my head, but it was a solid start.
This is also where a classic landscape truth showed up immediately:
moving just a few steps can make a huge difference. A small shift in position improved the lead-in and separation, and the composition instantly felt cleaner.
Testing the variable ND grad + polariser (and the practical problem)
Next, I set up the Freewell filter: a variable ND grad with a built-in polariser. It’s an interesting idea — especially for coastal scenes — but it also introduces a limitation straight away:
If you want to use it only as a polariser, you’re still locked into a minimum of three stops of ND. That’s not always what you want, depending on the light and shutter speed you’re aiming for.
In practice, the process became:
- Set the polarisation to a “happy medium”
- Use the variable ND range (3–7 stops) to control shutter speed
It did what it said on the tin, but as the light shifted and the water still wasn’t quite high enough, the bigger issue wasn’t the filter — it was the conditions.
The shot I wanted… and why it didn’t quite happen
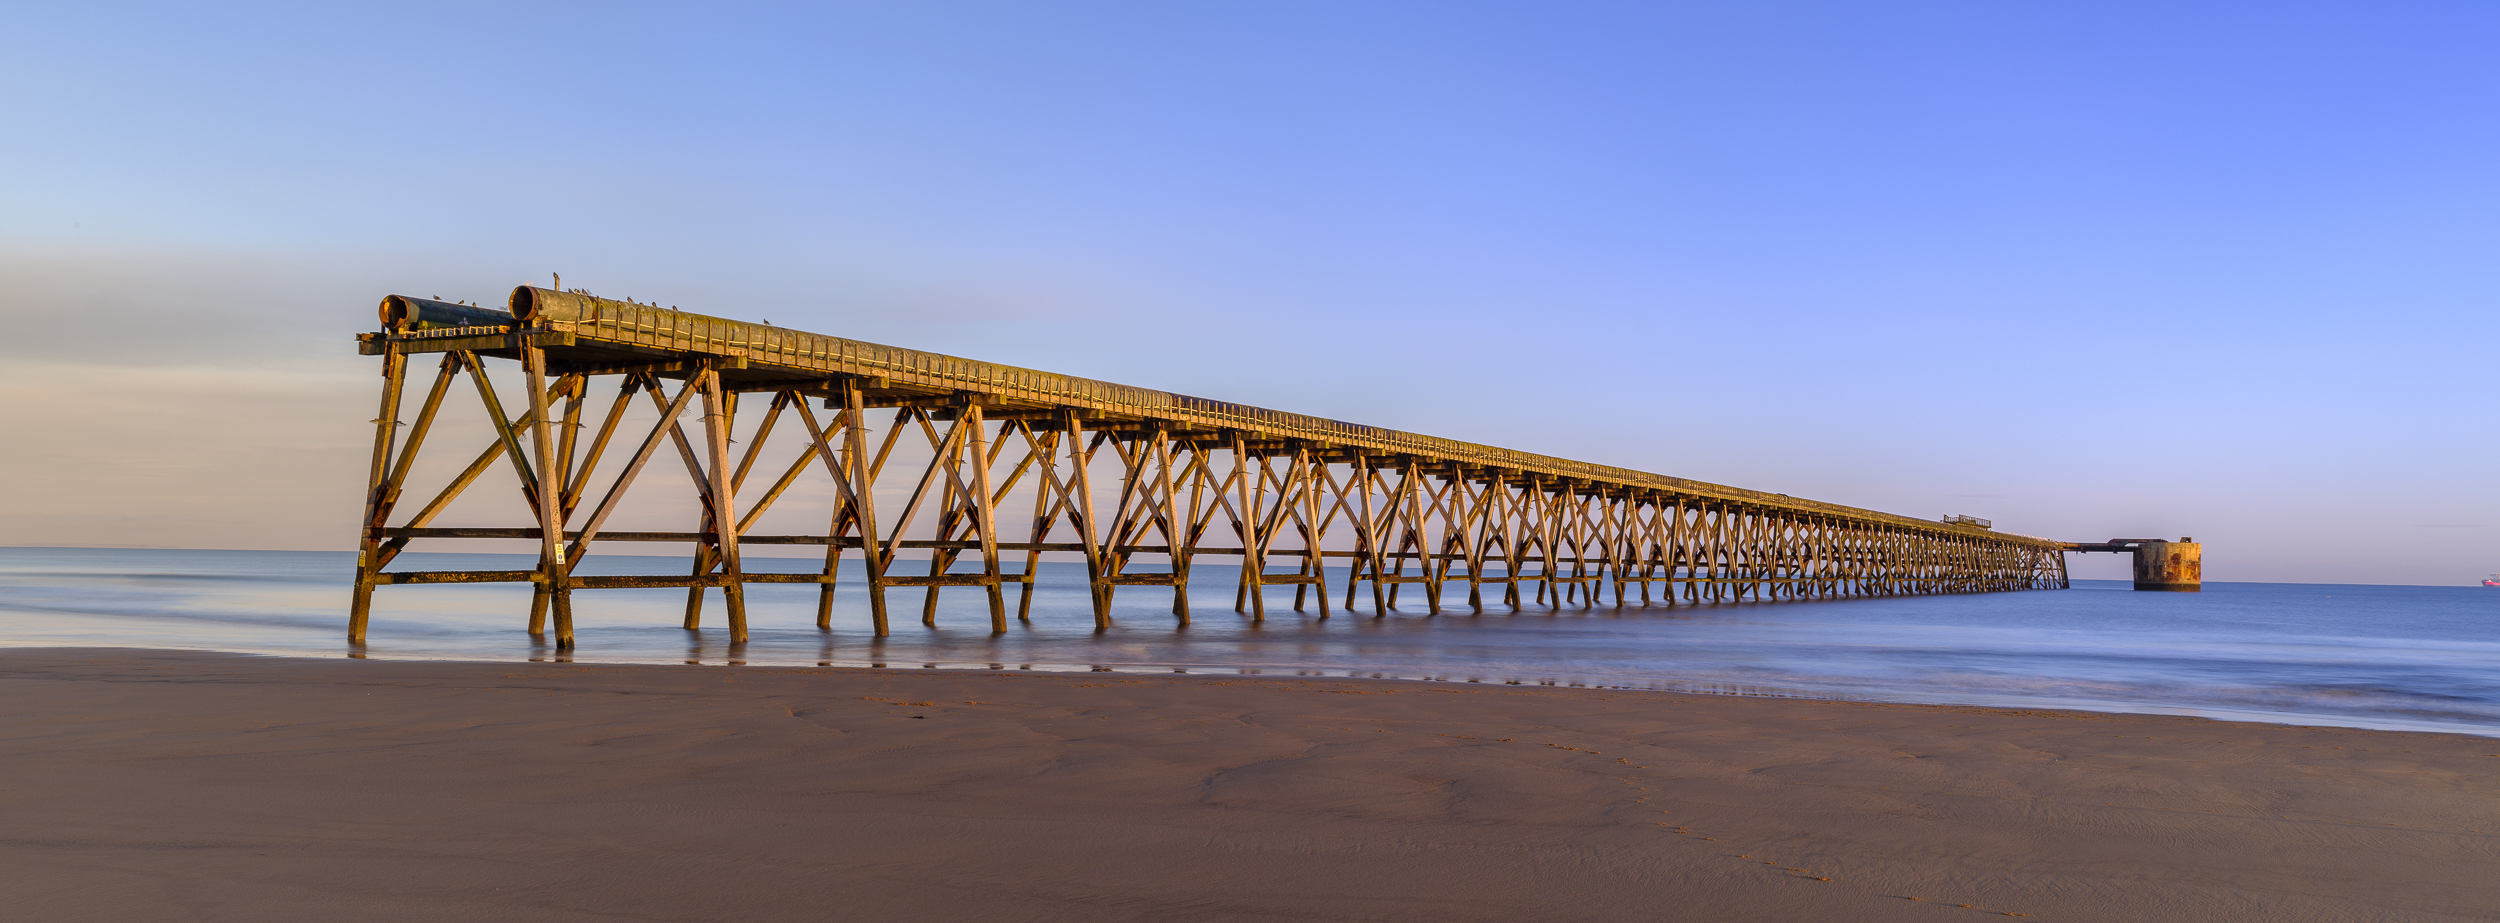
The dream version of this image was the pier surrounded by water, in glowing sunrise light, with a few clouds to add structure to the sky — and ideally some soft reflections too.
But the morning didn’t play ball:
- no clouds (the sky stayed very clean and empty)
- the tide wasn’t high enough at peak light
- the best light arrived before the water did
That mismatch was the main frustration. I could feel the photograph I wanted hovering just out of reach — not far off, but not quite aligning.
So I made a decision: lean into long exposure and let it become a black and white interpretation instead.
Switching to a 10-stop ND and committing to monochrome
When the light became harsher and the sky stayed blank, monochrome started to make more sense. I switched to a 10-stop ND to push exposures longer and create a more abstract, minimalist feel.
That’s where the pier starts to feel less like a structure on a beach and more like a subject in its own right — something isolated, quiet, and graphic.
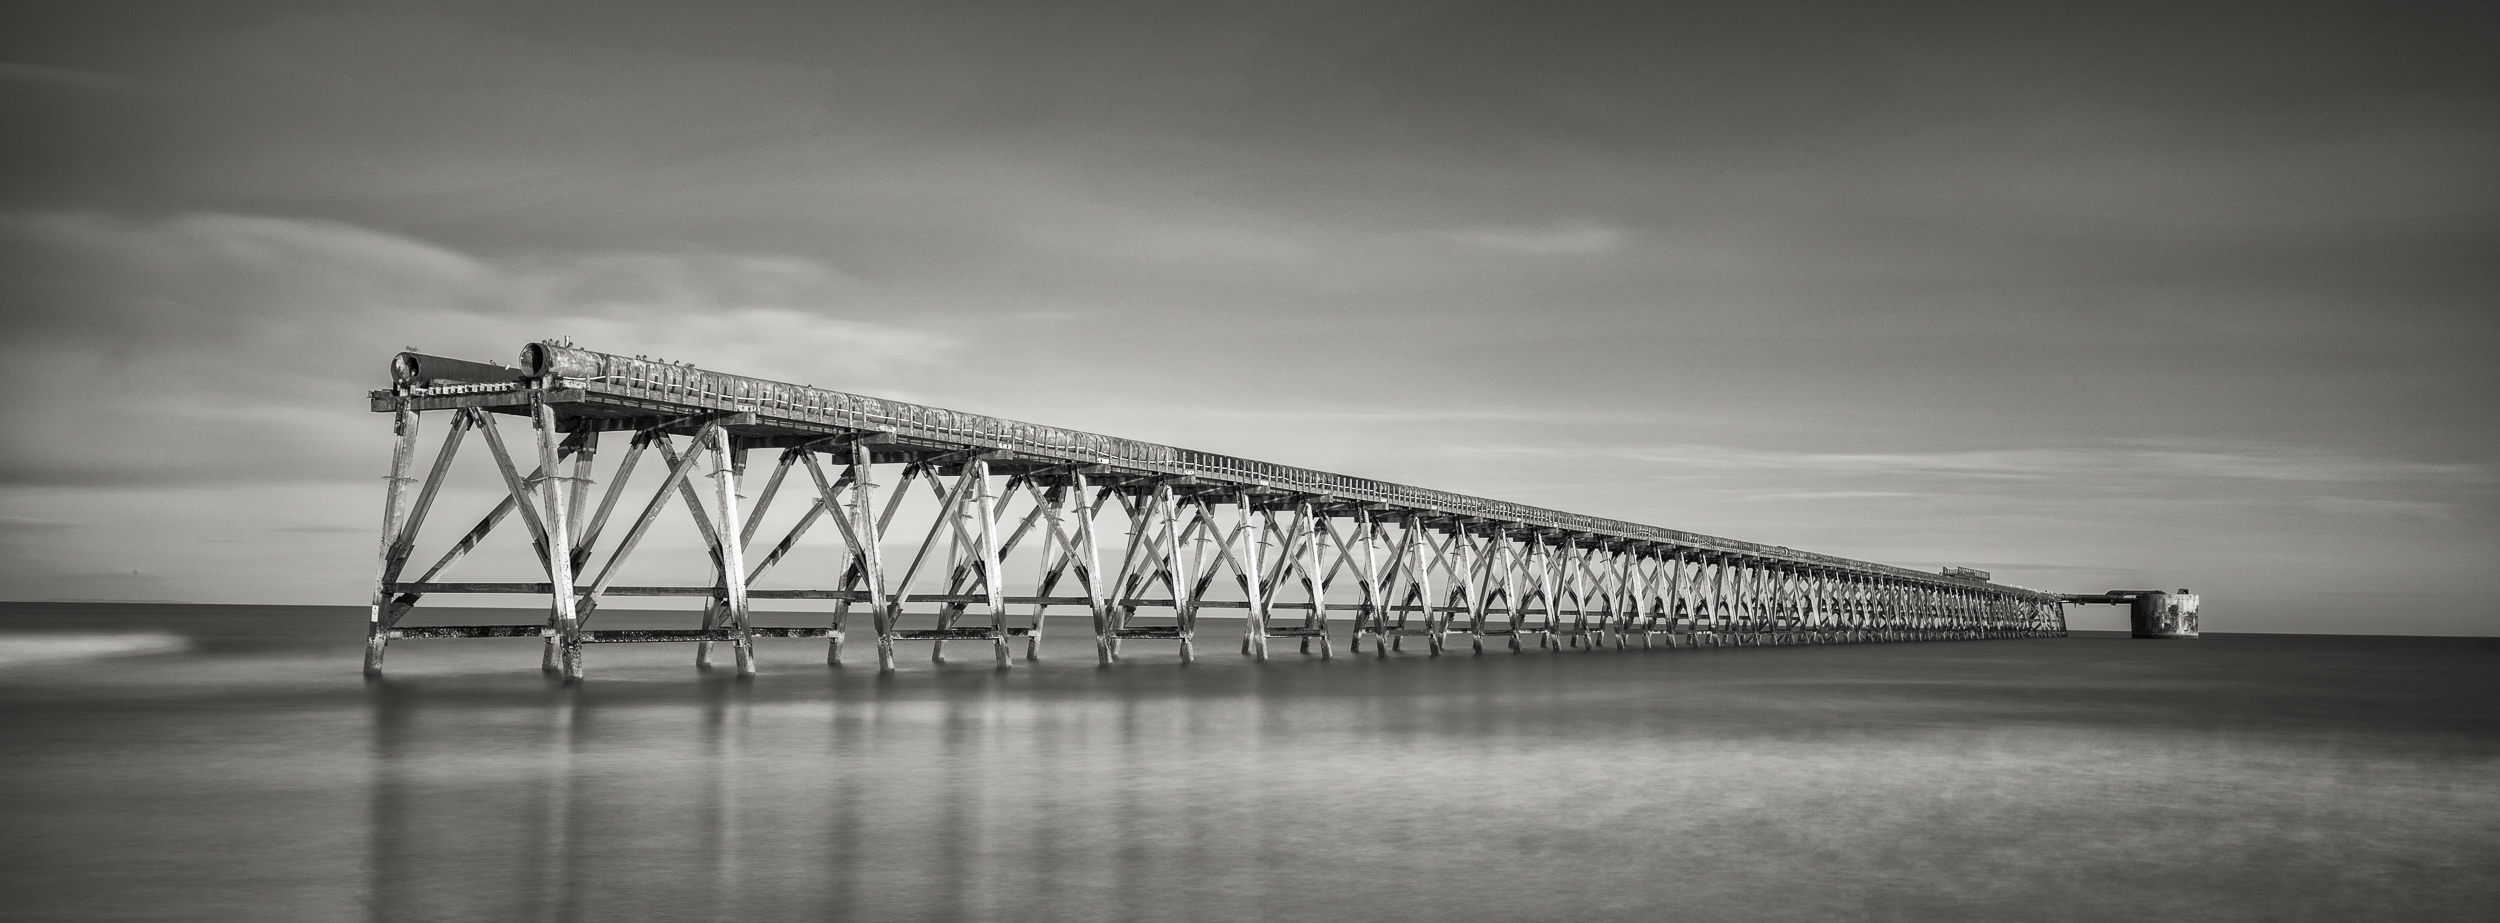
It still wasn’t the “perfect conditions” version I had pre-visualised, but it produced a result with mood — and that counts.
The real lesson: managing expectations (and seeing what you actually made)
There’s a moment later in the video where I pause and basically admit it: I wasn’t happy in the moment. I’d arrived with a very specific imagined photo in my head, and the morning didn’t deliver it.
But when you step back and look at the images, the truth is I came away with three genuinely good photographs — just not the ones I thought I was there to make.
- The first pre-dawn shot had a soft pink feel that I dismissed too quickly
- The second shot was pleasant and balanced, even without clouds
- The final black and white frame ended up being stronger than I expected
That’s a valuable reminder in landscape photography:
If the conditions don’t match the dream, don’t sulk — adapt.
Make something with what you’ve got. You can always come back for the “perfect” alignment later.
Why I’ll be back to Steetley Pier
The best part of a shoot like this is it removes the guesswork for next time.
Now I know exactly what I need:
- a higher tide that coincides with sunrise
- clouds (even a little texture would transform the sky)
- and that early pre-dawn light when the tones are calmer
And considering Steetley Pier is only about a 40-minute drive from home, I’m already wondering why it took me so long to get here in the first place.
This is a cracking location — it just demands the right conditions.



Leave a Reply