
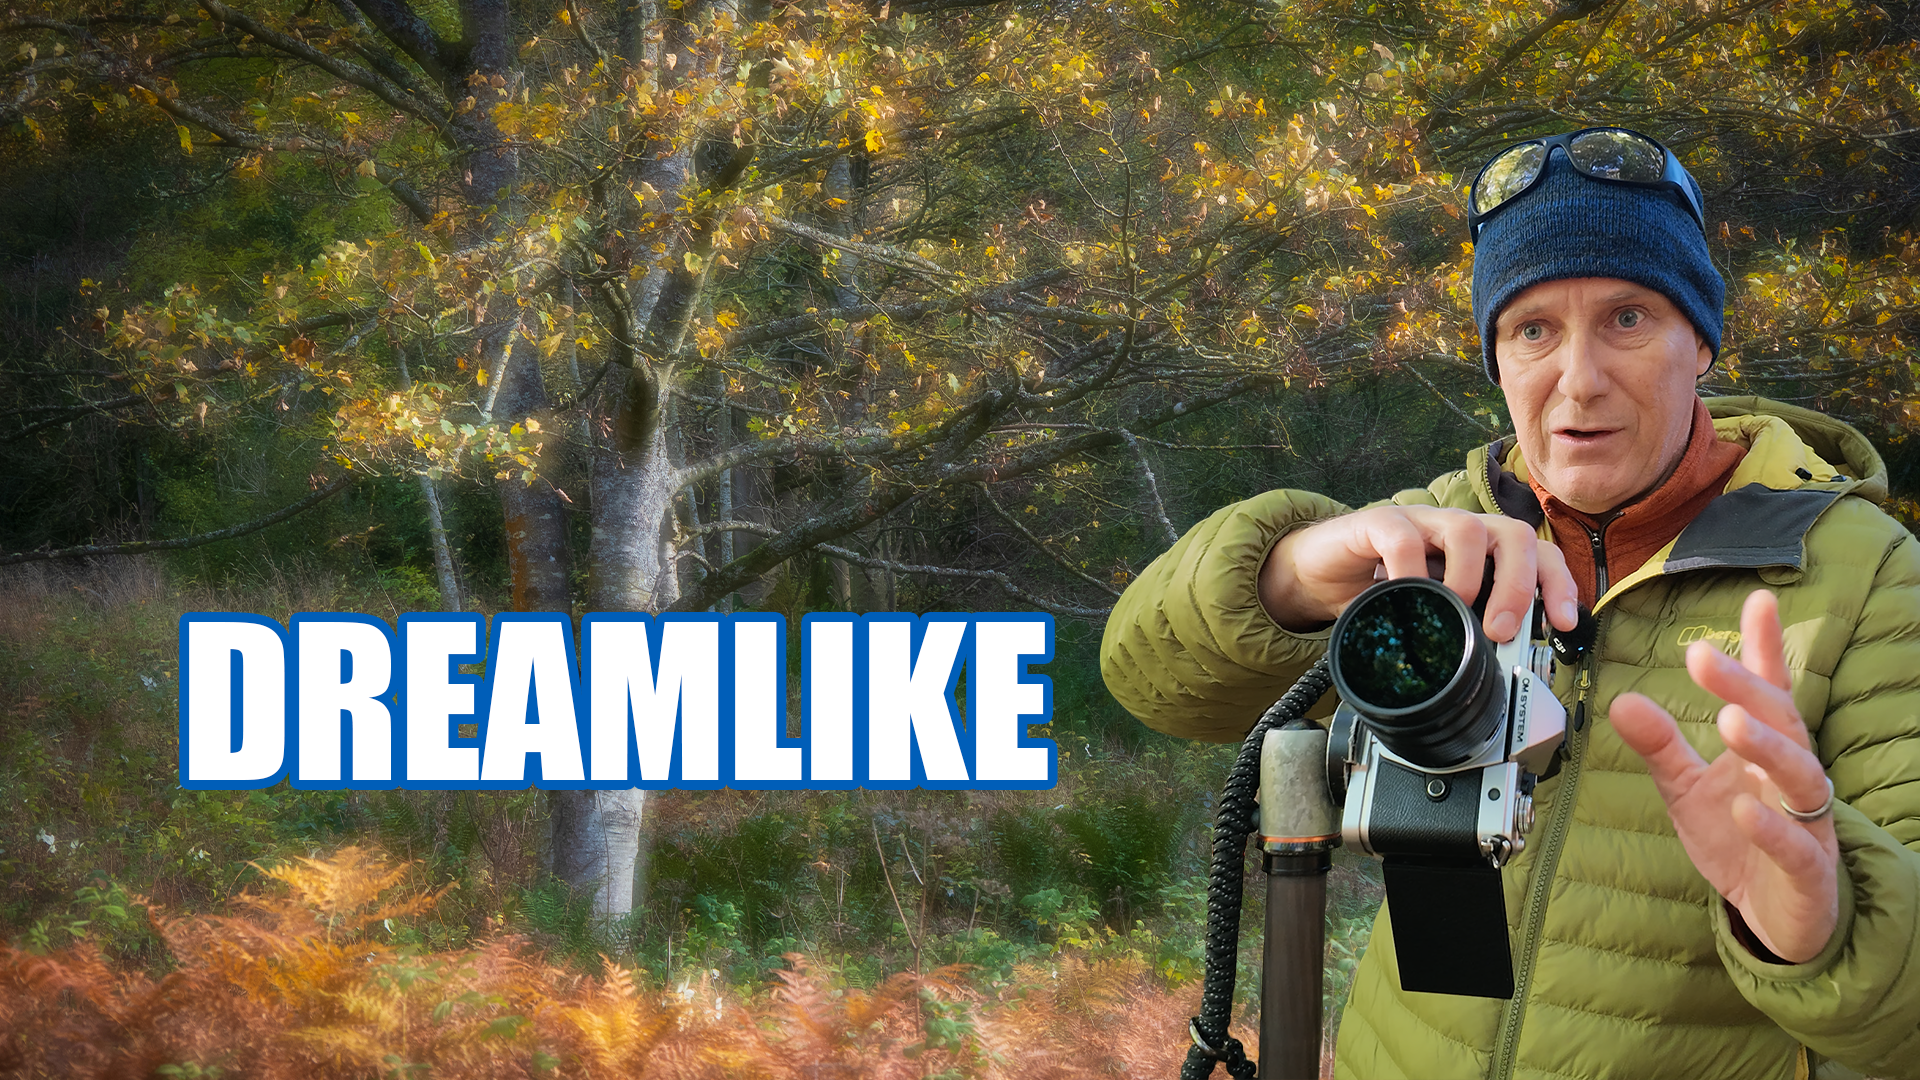
I’ve always enjoyed experimenting with creative techniques in my landscape photography, from intentional camera movement to multiple exposures. The Orton effect was something I had heard of but never tried, so an autumn morning in Northumberland seemed a good opportunity to give it a go.
The idea is simple: combine a sharp photograph with a deliberately defocused version of the same scene. The result retains recognisable detail while adding a soft, dreamlike glow, which can work beautifully with woodland colours and sunlight.
For this outing, I used the OM System OM-3 to combine the exposures in camera. However, you don’t need that camera—or even a multiple exposure mode—to try it. I also photographed a separate pair of images and demonstrated a straightforward Photoshop alternative.
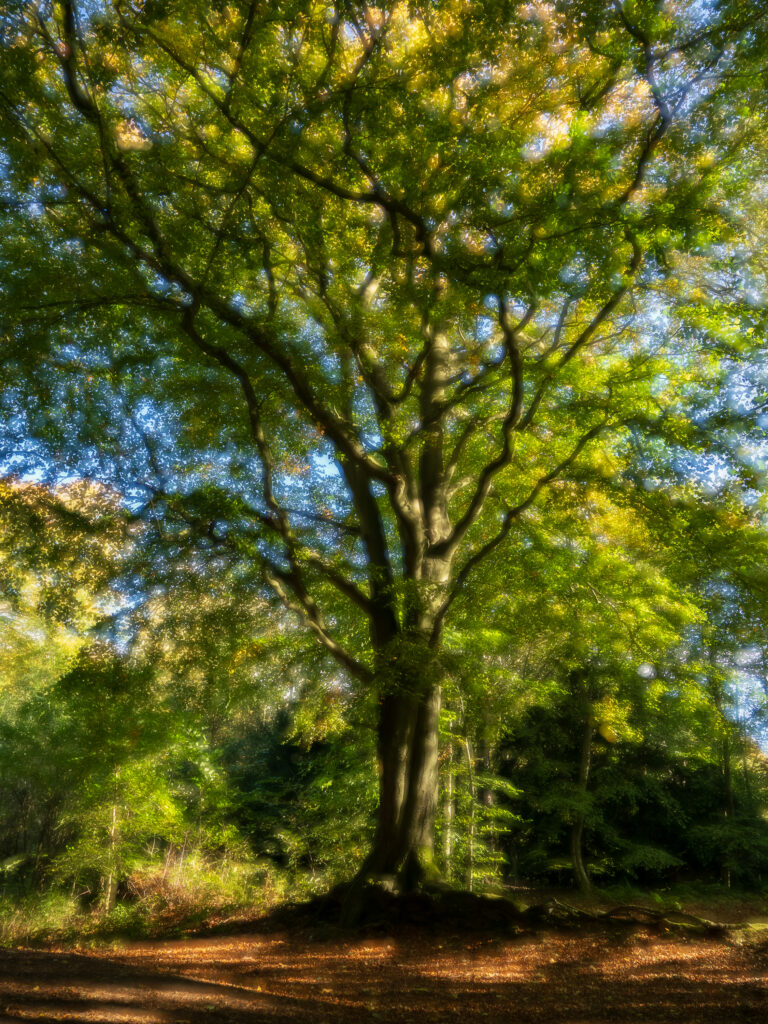
What Does the Orton Effect Look Like?
The appeal of the Orton effect is the combination of detail and softness. The sharp exposure gives the photograph structure, while the defocused exposure spreads light and colour around it.
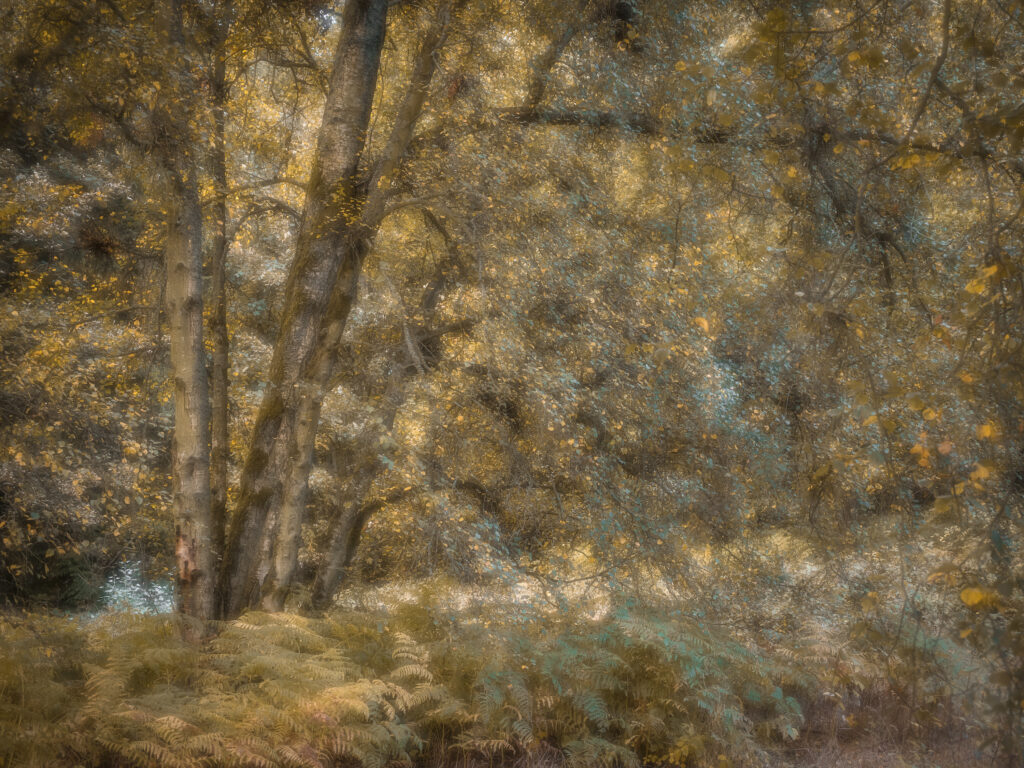
In my woodland photographs, this created an almost watercolour-like appearance. Highlights developed a gentle glow, and the autumn foliage became softer without losing the underlying composition.
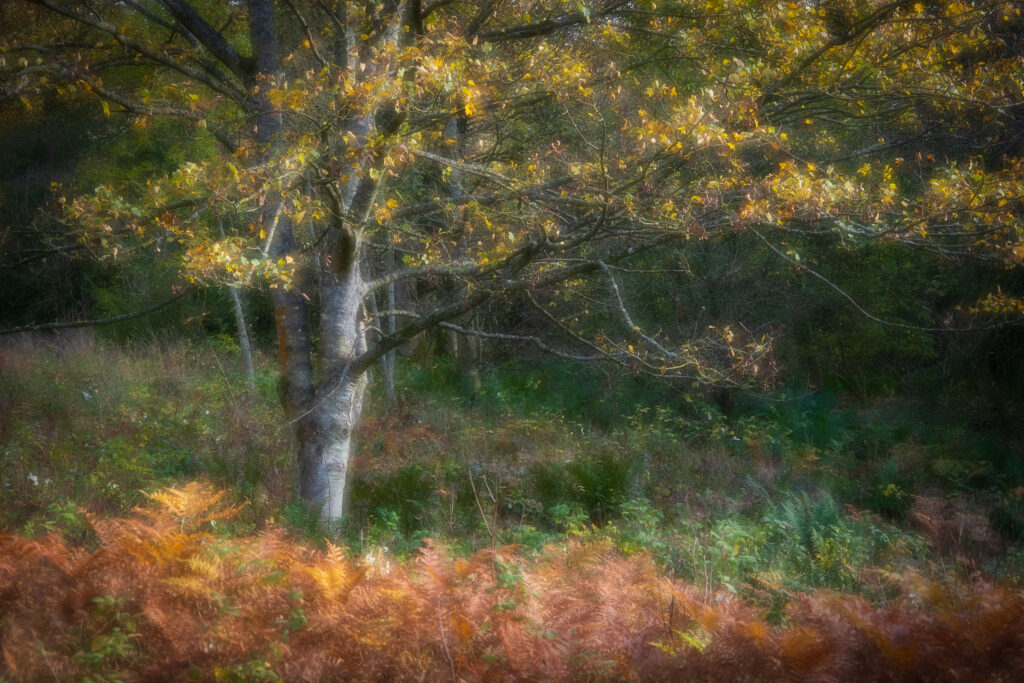
Comparing my first attempt with a conventional photograph of the same scene made the difference clear. Both recorded the same subject, but the combined image had a distinctly different atmosphere.
It’s an interpretation of the landscape that I found immediately appealing—and surprisingly straightforward to achieve.
Creating the Orton Effect In Camera
On the OM-3, I enabled multiple exposure mode and used two exposures with auto gain switched on. This allowed the camera to combine the photographs and balance their contribution to the finished image.
With the camera on a tripod and the composition established, my process was:
- Focus carefully on the main subject and take a sharp photograph.
- Switch to manual focus without moving the camera.
- Turn the focus ring to deliberately soften the scene.
- Take the second photograph and let the camera combine them.
I used the same aperture for both exposures, shooting at f/4 for the examples demonstrated. The change in focus created the softness.
I had configured a button on the OM-3 to switch to manual focus, making the sequence quick to repeat. Once the first exposure was taken, I could change focus and capture the second without spending time in menus.
The camera produced a combined RAW file that I could continue editing afterwards. That particularly appealed to me: I could see the effect in the field without adding another substantial editing task at home.

How Much Should You Defocus?
For these photographs, a relatively small turn of the focus ring gave me the look I wanted. I was turning it roughly a quarter of a turn, although that isn’t a measurement to copy rigidly across different lenses.
The aim is to create a visibly soft second exposure while preserving enough structure in the combined image.
I found the results more predictable than some of my experiments with intentional camera movement. Once I had established the basic approach, I could repeat it and concentrate on finding suitable compositions.
Reviewing the finished blend is useful. It lets you judge whether the softness complements the photograph or overwhelms the subject.
Choosing Woodland Subjects and Light
Sunlit foliage and autumn colours worked particularly well during this outing. The highlights gave the defocused exposure something to spread into that characteristic glow.
For one composition, I concentrated on orange ferns, a tree stump and the surrounding foliage. I tried different aspect ratios before settling on the frame that gave the scene enough room without including unnecessary distractions.
I deliberately excluded blue sky because it pulled attention away from the woodland colours. A polarising filter also helped reduce glare on the leaves, allowing their colours to show more clearly.
Later, as cloud covered the sun, I found fewer subjects that suited the effect. Based on this first experiment, I preferred scenes with some highlights rather than completely flat illumination.
The technique also encouraged me to consider compositions I might otherwise have overlooked. A scene that felt ordinary as a conventional photograph became more interesting with that softer treatment.
Creating a Similar Effect in Photoshop
If your camera doesn’t offer multiple exposures, capture the sharp and defocused photographs separately, keeping the camera position and framing consistent.
Then combine them in Photoshop:
- Open both photographs in the same document as layers.
- Place the defocused photograph above the sharp photograph.
- Leave the top layer’s blending mode set to Normal.
- Reduce its opacity to 50%.
That gave me a result close to the blend produced by the OM-3. You can adjust the opacity to control how strongly the soft exposure contributes.
I applied some editing before combining my demonstration images to bring them closer to the appearance of the in-camera version. Once happy, you can save a layered copy to preserve your adjustments and flatten a separate version if needed.
A Creative Technique I’ll Use Again
By the end of the morning, I had three photographs I liked and a technique I wanted to explore further.
The OM-3 made the process quick enough that it barely interrupted my normal photography routine. The Photoshop alternative also showed how accessible the experiment is with other cameras.
If you enjoy creative woodland photography, try capturing one sharp exposure and one defocused version of the same composition. It’s a simple starting point, with plenty of room to discover how much softness suits your own photographs.


Leave a Reply