
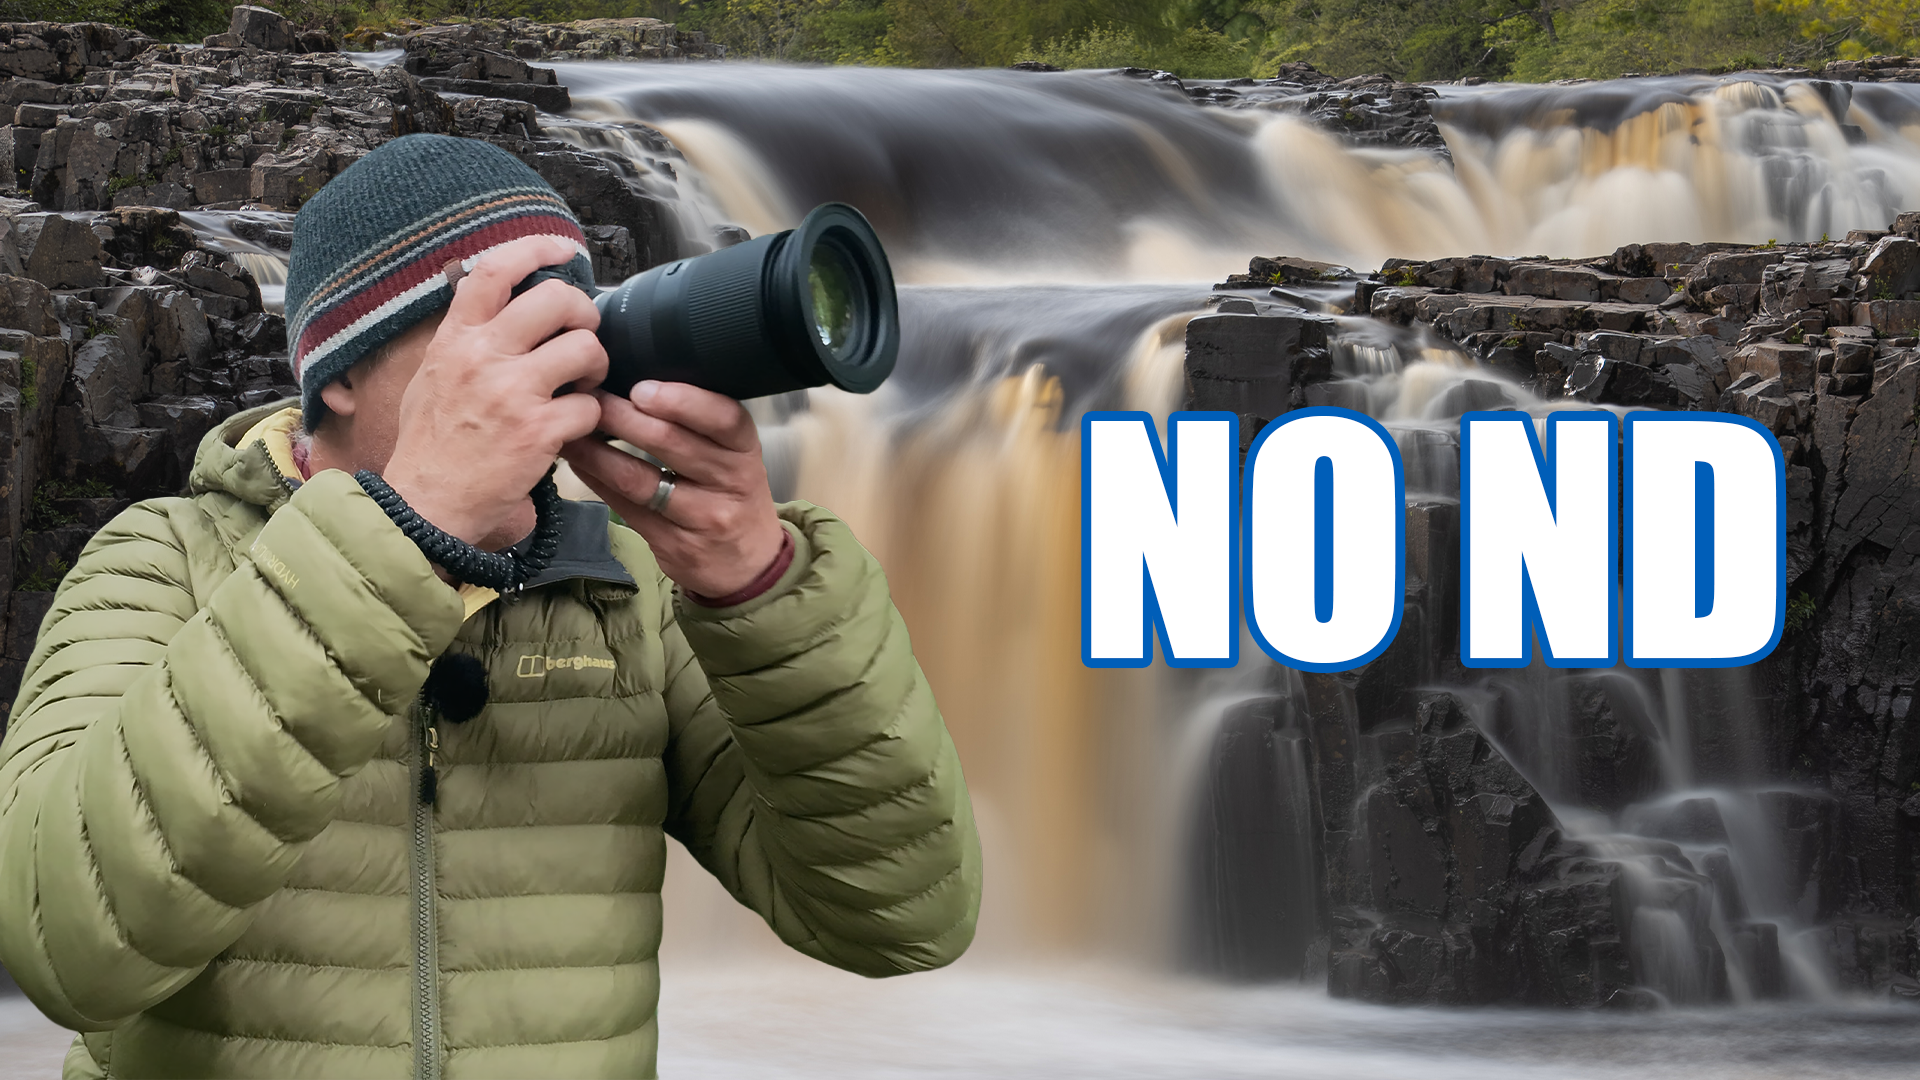
Long exposure photography is one of the most popular techniques in landscape photography. Whether you’re trying to smooth water, blur clouds, or create a sense of movement, the traditional solution is simple: fit a neutral density (ND) filter to your lens.
But what if you don’t own any ND filters?
Or what if you’re using an ultra-wide lens with a large domed front element that won’t accept traditional filters?
The good news is that you can still create long exposure photographs on almost any camera without using ND filters at all.
In this article, I’ll show you a simple technique that uses your camera’s interval timer and Photoshop to simulate the effect of a long exposure by combining multiple images into a single photograph.
Why Shoot Long Exposures Without ND Filters?
ND filters are undoubtedly useful, but they aren’t always practical.
You might:
- Want to experiment with long exposures before investing in filters.
- Own an ultra-wide lens that doesn’t accept screw-in filters.
- Prefer travelling light without carrying bulky filter systems.
- Want greater control over what parts of the image show motion blur.
The technique demonstrated here costs nothing if you already own Photoshop and can often produce results that are remarkably similar to a traditional long exposure.
What You’ll Need
The process is surprisingly simple.
You’ll need:
- A camera with an interval shooting mode.
- A tripod (for the easiest results).
- Adobe Photoshop.
- A scene with movement, such as flowing water, waves, or moving clouds.
Most modern cameras include an interval timer, making this technique accessible regardless of brand.
Step 1: Capture a Sequence of Images
Instead of taking one long exposure, you’re going to take many shorter exposures.
For example:
- Set your camera to take one photograph every second.
- Capture 30 images.
- Keep your composition unchanged.
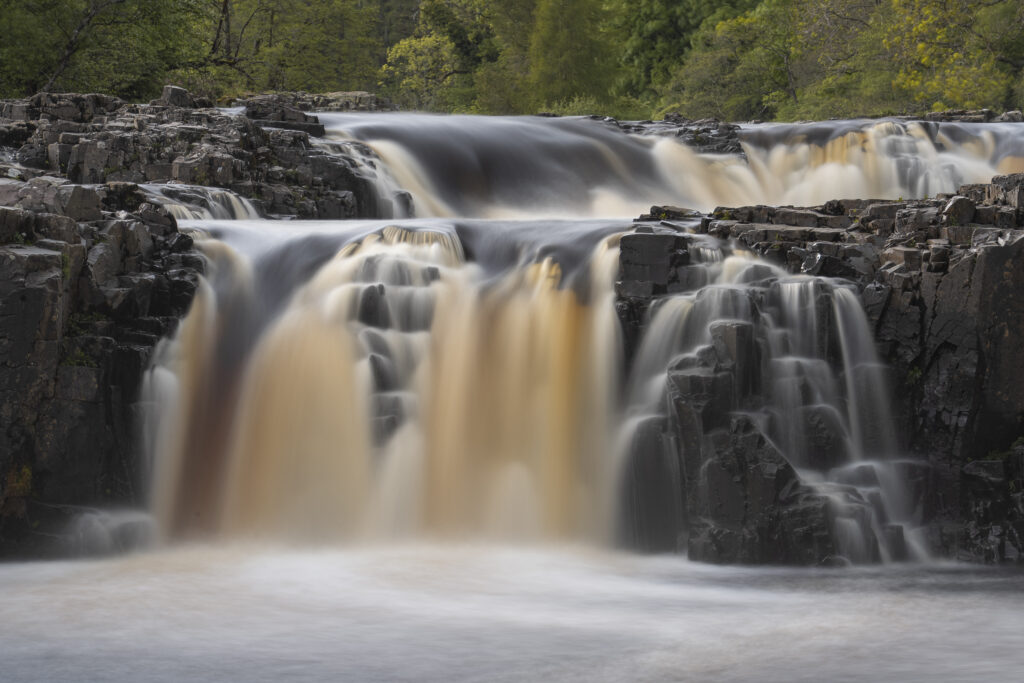
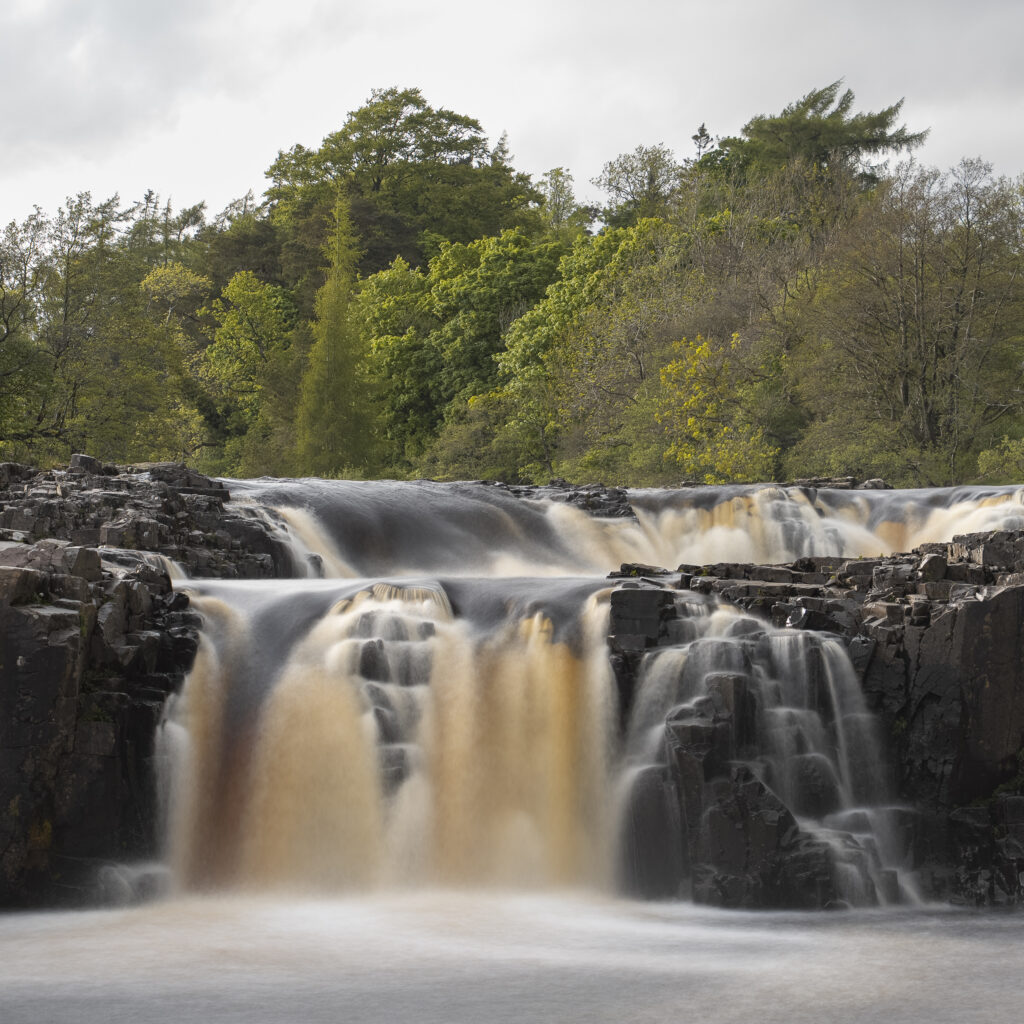
In my example at Low Force in County Durham, I photographed a waterfall using 30 separate exposures captured over 30 seconds.
Each individual image remains sharp, but when combined later they create the appearance of a much longer shutter speed.
Step 2: Process the Images in Lightroom
Import the sequence into Lightroom and make your basic adjustments.
There’s no need to perform extensive editing at this stage.
Simply:
- Adjust exposure if required.
- Correct white balance.
- Apply lens corrections.
- Synchronise the settings across the entire sequence.
Once complete, open all images as layers in Photoshop.
Step 3: Load Images as Layers in Photoshop
With all the images loaded:
- Select every layer.
- Right-click and choose Convert to Smart Object.
- Navigate to:
Layer → Smart Objects → Stack Mode → Mean
Photoshop will then analyse every image and blend them together into a single photograph.
The result is a smooth long-exposure effect created entirely from multiple shorter exposures.
A Different Look from Traditional ND Filters
One thing I discovered while experimenting is that this technique doesn’t always produce exactly the same result as an ND filter.
In some situations, that’s actually an advantage.
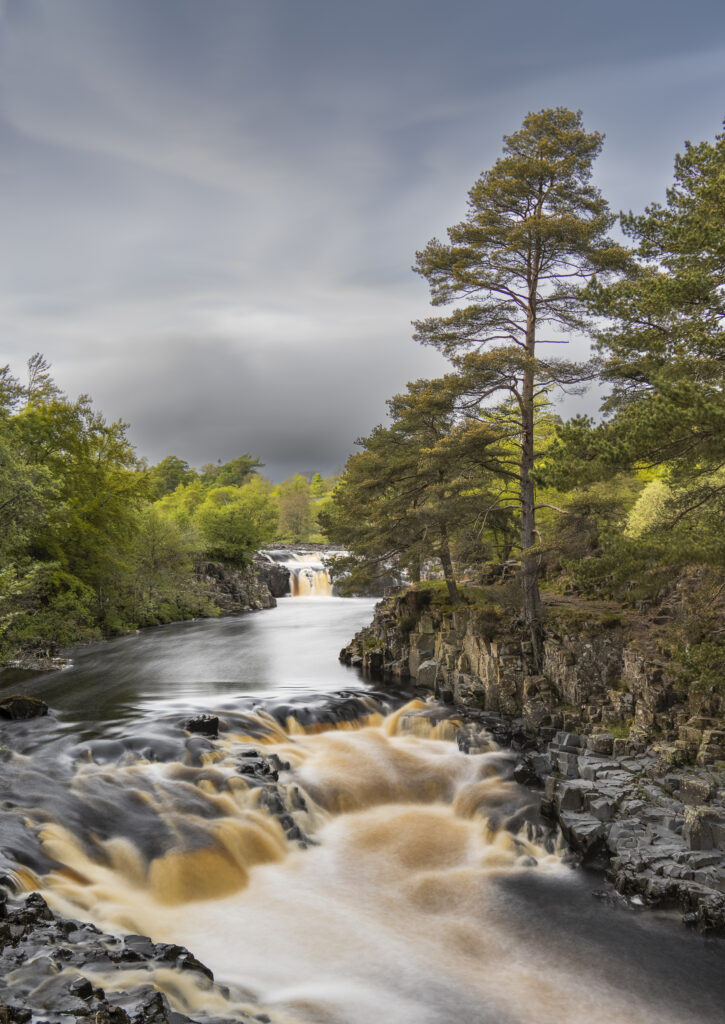
For the second photograph, I deliberately used a much faster shutter speed to freeze the surrounding trees and vegetation.
The moving water was then blended through the stacking process.
The result was blurred water combined with sharp trees — something that would be difficult to achieve using a conventional long exposure and ND filter.
This gives you a degree of creative control that traditional long exposure photography simply doesn’t offer.
Can You Do It Handheld?
Yes.
This is where things get particularly interesting.
Modern OM System cameras include a built-in Live ND feature, which works by combining multiple exposures rather than using a physical ND filter.
You can replicate a similar effect manually.
To do this:
- Switch to continuous burst shooting.
- Hold the camera as steadily as possible.
- Capture a rapid sequence of images.
- Load them into Photoshop.
Before converting the images into a Smart Object, use:
Edit → Auto-Align Layers
This compensates for any slight movement between frames.
Once aligned, apply the same Smart Object and Mean Stack process as before.
The result can be surprisingly effective and allows you to create long exposure effects entirely handheld.
Does It Work at the Coast?
Absolutely.
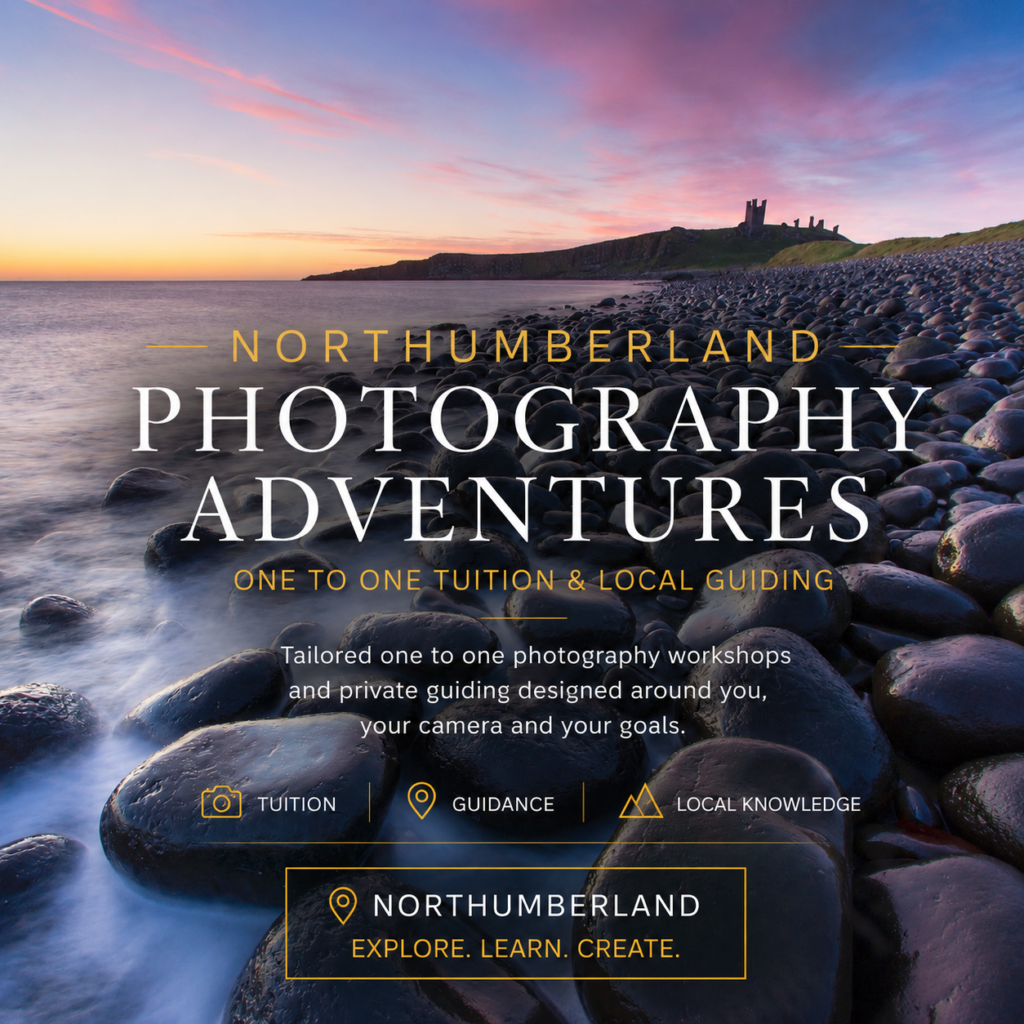
In fact, some of my earliest experiments with this technique were photographed on the Northumberland coastline.
Moving water and waves respond particularly well to image stacking, often producing results that are visually very similar to traditional ND-filter long exposures.
Is It Better Than Using ND Filters?
Not necessarily.
A quality ND filter remains the quickest and simplest solution when you want a genuine long exposure.
However, image stacking offers several advantages:
- No filters required.
- Works with awkward ultra-wide lenses.
- Potentially better image quality than some filters.
- Greater control over motion blur.
- Allows handheld long-exposure effects.
Most importantly, it allows photographers to experiment with long exposure photography without spending money on additional equipment.
Final Thoughts
Long exposure photography doesn’t have to mean buying expensive filters.
By combining multiple exposures in Photoshop, you can create convincing long exposure effects on almost any camera while opening up creative possibilities that aren’t always achievable with traditional ND filters.
If you’ve never tried long exposure photography before, this technique is a fantastic place to start.
And if you already own ND filters, it might still become a useful addition to your photographic toolkit.


Leave a Reply