
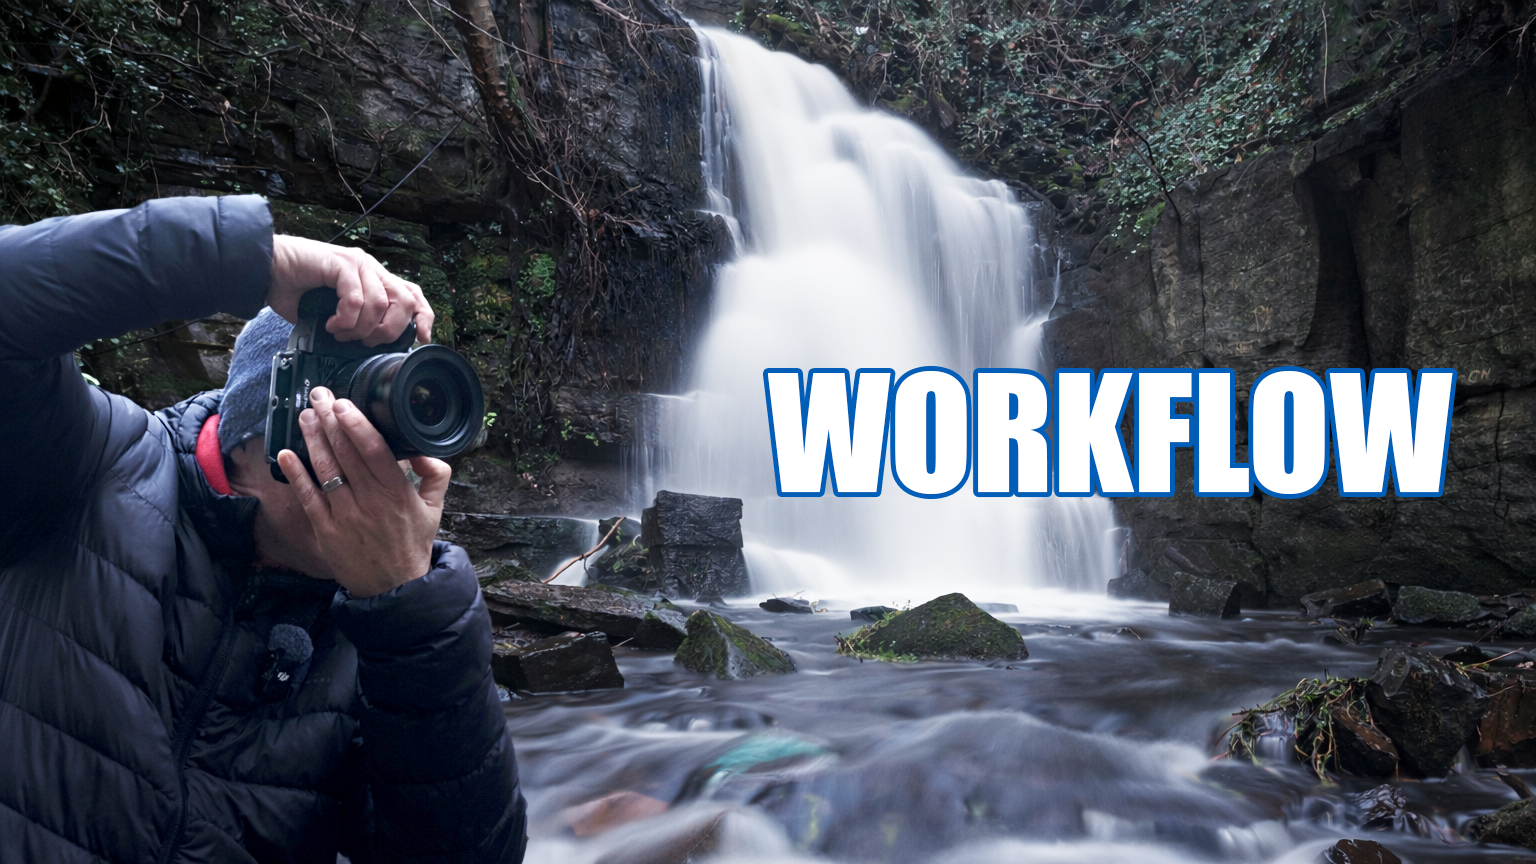
In this video, I take you through the entire process of photographing a waterfall, from setting up the shot in tricky conditions through to the final edits in Lightroom and DxO FilmPack 8.
Rather than focusing purely on camera settings, this is about decision-making, problem solving in the field, and keeping the editing process subtle and intentional.
Finding the composition in difficult conditions
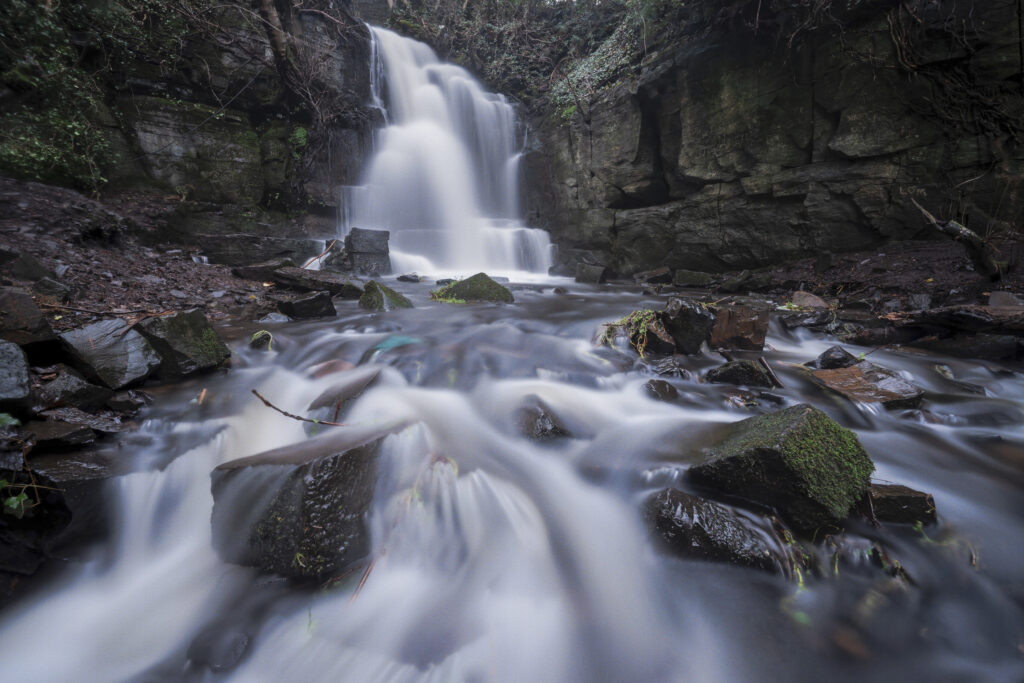
This shoot was all about controlling the composition in a tight, slippery space. The first challenge was simply getting the tripod low enough to avoid distracting twigs crossing the waterfall, while still keeping some strong foreground interest.
I spent a fair bit of time adjusting position, height, and orientation — switching between portrait and landscape — and reviewing each frame carefully as I went. The aim was to create a natural flow through the image, using the stream to lead the eye toward the waterfall without the scene feeling cluttered.
Exposure, filters, and slowing things down
With fading light and a bright, overcast sky above the falls, managing reflections became more important than extending exposure time. I removed the neutral density filter and relied mainly on a circular polariser to control glare and bring some depth back into the scene.
As the light dropped, exposure times crept longer — eventually reaching around 20 seconds at f/11. At that point, stability, timing, and patience mattered more than technical perfection.
Switching lenses and exploring alternatives
Partway through the shoot, I swapped to a much wider, manual-focus lens with no filter compatibility. That immediately changed the feel of the image and forced a rethink of the composition.
This is something I always recommend:
explore different focal lengths and orientations, even when you think you’ve “got the shot.” Some of the strongest frames here came from pushing past that first safe option.
Selecting the final images
Back at the computer, I narrowed the shoot down to two images:
- One destined for black and white
- One kept in colour
Both images were processed using a combination of Lightroom and DxO FilmPack 8, using FilmPack as a starting point for tone and feel rather than a heavy-handed effect.
Black and white processing approach
For the black and white image, I gravitated toward an Ilford FP4-style look, keeping grain turned off and contrast controlled. The goal was to retain detail in the water while lifting the overall exposure gently — nothing dramatic, just enough to balance the scene.
Most of the refinement happened back in Lightroom, using simple tools like:
- White point adjustment
- A subtle radial gradient on the waterfall
- Minor tone curve tweaks and a light vignette
Colour edit and subtle refinement
For the colour image, I leaned toward a Kodak Ektar-style rendering, again keeping grain disabled and focusing on contrast and highlight control.

Because the image was slightly overexposed in the field, the edit involved carefully recovering highlights and lifting shadow detail without flattening the scene. A small crop was applied to suit a 2:3 aspect ratio, as the image is intended for calendar use.
Final thoughts on editing
For me, editing should always be subtle. The bulk of the work should be done in the field, with post-processing used to refine rather than rescue an image.
DxO FilmPack 8 works well as a quick starting point, especially if you enjoy film-inspired looks, but I still prefer finishing everything off in Lightroom to keep full control.
If you enjoy seeing the full photographic process — from problem-solving on location through to restrained editing — you’ll find plenty more videos like this over on my YouTube channel.



Leave a Reply